Search This Blog

Saturday, May 31, 2014

A Trip to Colonial Williamsburg

I took a break from woodworking over the Memorial Day weekend. My wife and I went on a road trip to Colonial Williamsburg.  It was our first trip there and we were not disappointed.
We were immersed in american history and of course the 18th century period.
There were several exhibits on the grounds that involved woodworking in the 18th century.  The cabinetmaker's shop had a number of nice pieces as well as demonstrations on the work that they were currently doing.  They are reproducing this highly carved card table.  The original is in the local museum.
We were able to see quite a few 18th century furniture antiques in the various houses and we also visited the Cooper shop where they were making barrels and water buckets.  All with 18th century tools.
They have a Joiner Shop where they were make moldings for the buildings and wooden boxes to hold George Washington's personal things at Yorktown.  Again only using period tools.

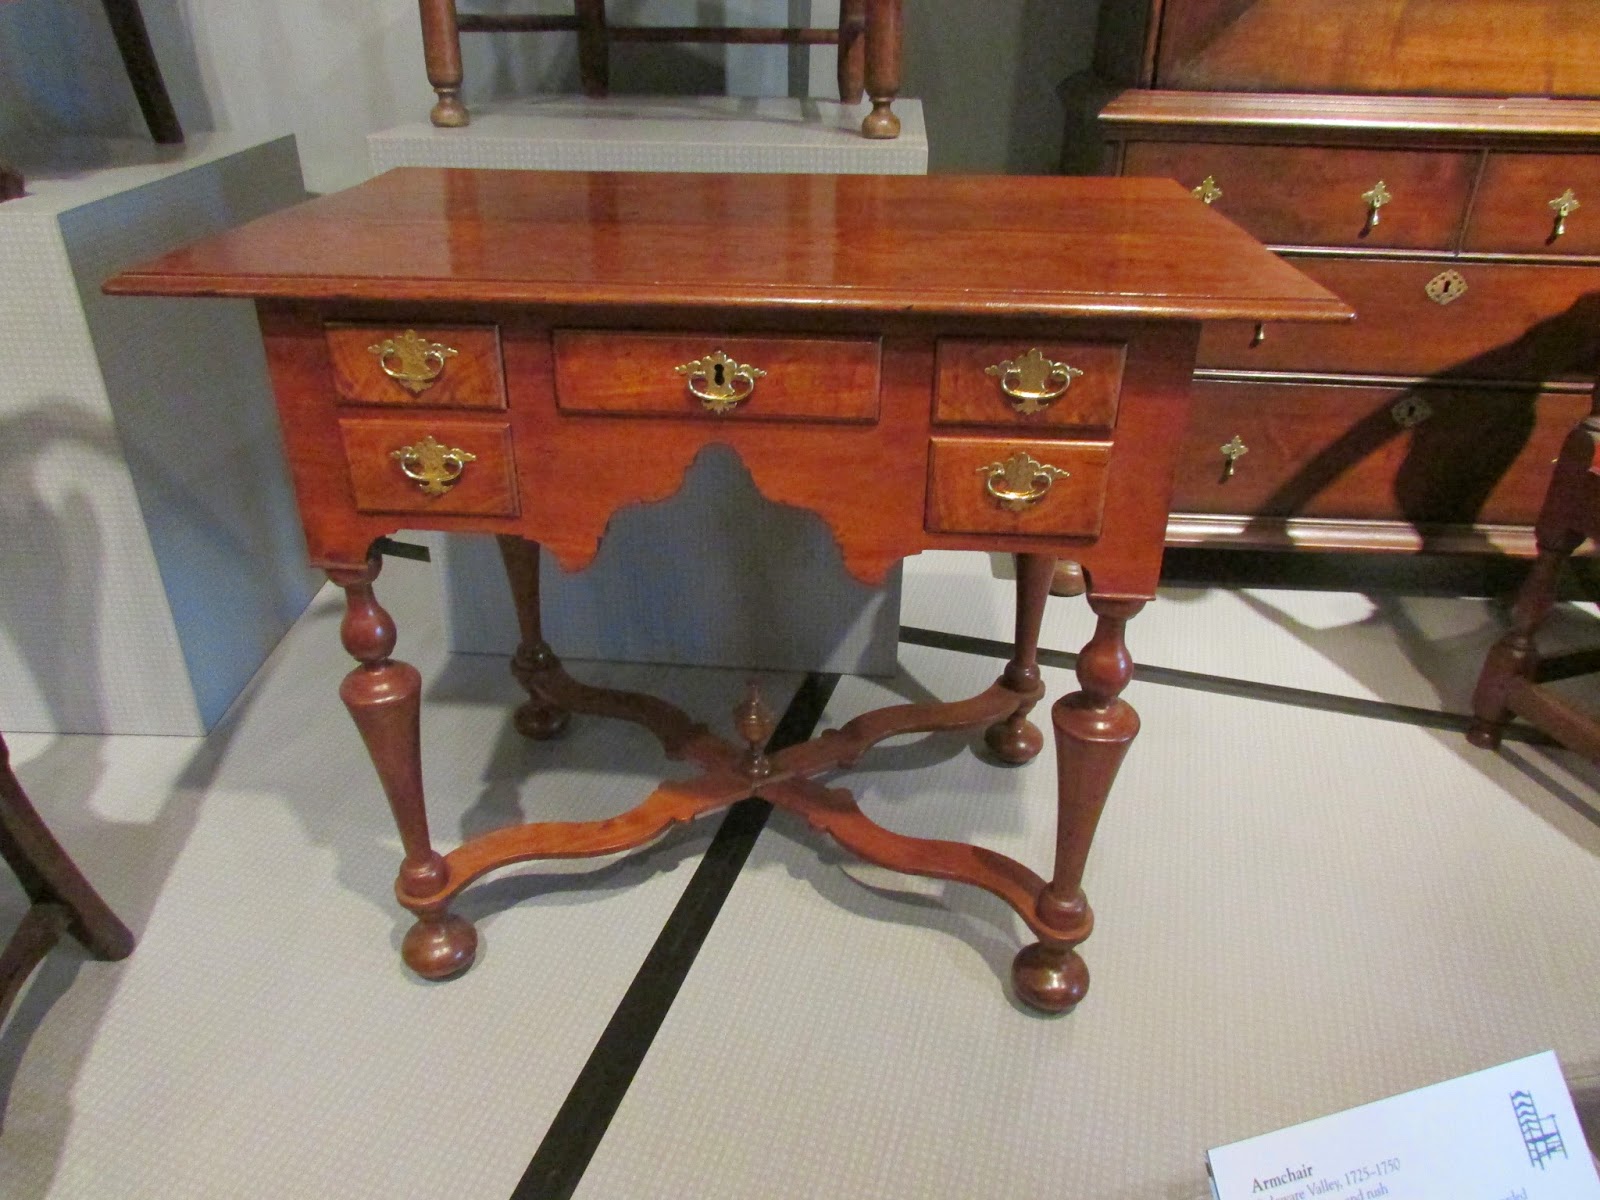
The highlight of the trip was the visit to the museum and a private tour of the furniture exhibit. Southern Fair is the title of the exhibit at the DeWitt Wallace Decorative Arts Museum.  Our guide led us through an 1 1/2 hour study of their southern pieces.  I also spotted some pieces which I am going to add to my list of things to reproduce.  Here are two that I have my eye on:


 And lastly we did a behind the scenes tour at Bruton Heights to visit the studio where they conserve the antique furniture for display in the museum and other houses.  What a treat!

So now that I am back home I will continue to work on the Newport Card Table.

Friday, May 23, 2014

Carving the Practice Newport Ball and Claw Foot

The Townsend Card Table is obviously a Newport piece of furniture. If I were to put a Philadelphia ball and claw foot on the table it would be out of context.   So, I have to carve a Newport ball and claw which I have not done before.   I obtained a plaster cast of a Goddard foot from Al Breed.  He sent me one that had a broken talon, but that didn't matter.  In today's video I take a crack at carving the different style.  I have completed the basic shape in this video, and now will refine the shape in the next video.
It was a lot harder to carve than I thought but like any new thing I went slower that I normally would since I wanted it to be acceptable.
So here is today's video:

A Trip to Irion Lumber - Wood Paradise

Doug Moulder and I made a trip yesterday to Wellsboro, PA.   It is about a 5 hour drive from my house, so having someone along makes the time go by much quicker.   Also, it helps to have someone to hold one end of  the heavy lumber.
I am in search of some good Genuine Mahogany for the Townsend Card Table that I am building.
I have been to Irion Lumber before and I don't know of a place that has a better selection of fine furniture grade lumber.
Myron Yoder, who runs the place for Lou Irion took us up to the top of the hill where they have several sheds full of various sizes of Mahogany.  How about 40" wide 10 foot boards!  He also shows us their private stock selection of some really fine and figured stock.
So, we start to sort through the various sizes of lumber that I need, 4/4 tops, 8/4 sides and 12/4 legs.   While we are doing this mother nature comes along and dumps a thunder shower  with hail on us, so we have to duck under one of the shed roofs for awhile.  Wading through the mud now we pick out the stock.  I land a couple of 20" wide 4/4 boards for the tops...
While I am a little poorer as we leave, I am satisfied that we have some really fine wood to make into the Townsend Card Table.
The wood is in the shop getting accustomed to the humidity and I am going to continue to carve the practice Newport ball and claw foot that I have started.  I post a video when I get a little further along.
It was a good trip!

Monday, May 19, 2014

Completing the Prototype and Reviewing the Dimensions

Today I put together the apron, right side and the leg.  To this I added two 2x2 legs cut from a 2x4.
So the front and side are the actual dimensions.  To this, I cut out one quarter of the top to match the right side and front of the table frame that I had made.
After assembling all of this, it is time to take a look at how all of these elements fit together and look.  Are they pleasing to the eye?  Are they functional, can you sit at the table and get your legs under the apron?
Doug Moulder came over today and reviewed the prototype.  He looked at it from all sides and sat at the table.  He gave it his blessing.  Now I am ready for the next steps.  I am going to carve a sample Newport foot and make a trip to wood heaven "Irion Lumber" to purchase some mahogany.
So here is today's video:

Sunday, May 18, 2014

More Design Work and Cutting Out the Aprons

I went back to the drawing board and worked on the top view of the table.  This accomplished the view and dimensions of the cyma curves which are in the aprons.  It also allowed me to figure out the swing for the rear legs.  I am not sure about the length of the swing legs yet I think they are currently about 11".  I may want them longer, this would add more support for the back half of the top.  The top is 16 3/4" fixed and 16 3/4 swing, this combines to 33 1/2" top. The width of the top is 33 1/2" as well.
Once I completed the drawings, I was able to trace the outline on to poster board which I use for templates.  I have an inter curve and an outer curve for the apron and top respectively.  
I traced the template on to 1 1/2" stock, added 1" tenons which I cut a 45 degree end and bandsawed the shapes.  
Then I mortised the leg and fit it together.  I'll post another video tomorrow after I make the partial top to complete the prototype.
So here is today's video:

Friday, May 16, 2014

Working on the cabriolet leg

The day before yesterday I cut out the sample cabriolet leg on my band saw.  Now it needs to be shaped.  The Newport style of leg is not rounded over like many other cabriolet legs on 18th century furniture.  I begin by removing all the saw marks and bumps using a spokeshave.  It probably my favorite hand tool.  I really like how you can smooth a curved surface with this tool.
When I first started to use a spokeshave I tried old Stanley and other styles and I had limited success at using the tool.  I admit I never tried a wooden one.   Well finally I bit the bullet, spent some money and bought the Lee Valley set.  These are wonderful tools compared to others that I had been using.
Other shaping on the leg that needs to be done that the spokeshave can't do I use a rasp and files to fit the tight curves.
Normally, you mortise the leg before you cut it out, it is easier to do while it is still a rectangle but I didn't.  So now I am going to add the mortises after I figure out what the apron shape will be.
So here is the video:

Wednesday, May 14, 2014

Making Progress on the Townsend Card Table Prototype

I completed the profile drawing of the table and made some decisions about the size of the table.
So far the table is 28 inches tall to the first top, if the second half of the top is folded over and closed on the the first top it would be 28 3/4 inches.  The width of the table is 33 1/2 inches which includes 3/4 inch overhang along the edge.
I created a cardboard template of the ball and claw leg and traced it on to a piece of African Mahogany which I had in the wood storage pile.  African Mahogany is not a mahogany but it's real name is Khaya.  It looks a little like mahogany but costs about half as much.  Since I had the 12/4 stock it should work ok to build a prototype leg.
After tracing, I bandsaw the leg on one side and tape it back together and then bandsaw the other.
Now I have the rough leg, tomorrow I will smooth it out with a spokeshave and other hand tools.
So here is today's video:

Monday, May 12, 2014

Townsend Card Table - Step 1 Estimate Dimensions and Make Drawings

I have researched the John Townsend Card Table from books and publications about as thorough as I can.  I would like to see one but there are none within a short driving distance.  I could go to Winterthur but that is not a short drive.  I am going to Williamsburg in the next few weeks but I don't know if they have one in their museum.
So, I have made some large pictures and hung them on the shop wall, I usually do this with my projects.  I gives me inspiration and it helps me fix in my mind what I am trying to accomplish.
I don't have much as far as dimensions for the table, in all of the books I have copied down the Length, Width and Height as they have described it.  None match, so I am going to use them as a guide and do my own thing.  When it comes to height I am going to use 28" to the top of the table.  There is by my estimate a 5 inch apron.  So, that only leaves 22 1/4 clear under the table apron for your legs.  That should be enough but if I made it shorter like some of the books have described then I don't think most people would be able to get their legs under the apron. I am assuming that someone may want to use this table sometime for card play.
The width right now is 34 1/2 inches,  I am not firm on this and won't know until I build a mock up.
I started by drawing the cabriolet leg.  I spent a lot of time trying to duplicate the shape of the curve that I see in the pictures.  In the next video, I will trace it out on poster board and use it for a template and cut out one leg.
So here is today's video:

Friday, May 9, 2014

Starting a New Project - Townsend Card Table

I am excited about a piece of furniture I have seen in a book John Townsend Newport Cabinetmaker from the Metropolitan Museum of Art. The book is available in pdf located here: http://www.metmuseum.org/research/metpublications/John_Townsend_Newport_Cabinetmaker.
Here is the card table that I am going to build
This picture is from the book, I am not sure if I can post the image here but the book and picture seem to be in the general domain.
Tables like this are attributed to both Goddard and Townsend.  As near as I can tell the main difference between the two is the way that they carved the ball and claw feet.  The styles of feet are well documented.  I happen to like the Townsend foot better than the Goddard.  This table also appears in the Master Craftsmen of Newport, The Townsends and Goddards by Michael Moses.
These books document the difference between Townsend and Goddard feet as well as some of the construction techniques.
There are some new challenges for me in this piece, the Townsend ball and claw is new to me and there are two knuckle joints (wood hinges) on the back legs so they can swing out to support the half of the table top when open.
I only have general dimensions of the table height, width and depth.  And I am not sure what it is that they are measuring.  For example, when they measure the height are they measuring it closed?
If it was closed, that would mean that 1 1/2 inches is consumed by the 2 top thicknesses.
If they measured it open then it would be only 3/4's' of an inch.
So I am going to have to build a prototype to see how it looks.  I am going to start by making a leg and a portion of the apron.  This should show me how it is going to look.
After I get a good looking leg, I am going to make full size drawings.
The main wood used for the table is mahogany but for the prototype I will probably use maple because it is cheap and I have some.
I keep you posted on my progress.


Sunday, May 4, 2014

Completed the Audio Cabinets for my neighbor

There was not much remaining to do.  I had applied the stain to the large cabinet and let it dry.  Then I applied the hardware to secure the top and the bottom of the cabinet.  Now it was time to spray satin lacquer.  After letting it dry over night I rubbed it out with 0000 steel wool while applying a dark paste wax.
I made the dark paste wax by melting the paste wax in boiling hot water.  Like a double boiler.  Once the wax melted I added the stain that I used on the piece.  I just added it until it was dark when I applied it to some wood. .  Once it was mixed, I put it in the freezer for about 15 minutes to re-harden the wax for applying.  I used it like regular wax.  After that I applied a regular wax to raise the sheen.
So now both cabinets are complete.  On to the next project.
Here is today's video:

Friday, May 2, 2014

Finishing up on the small audio cabinet and glue up of the large cabinet

I have sprayed lacquer on the small cabinet a couple of days ago.  So it is ready for rub out, wax and assembly.  I rubbed paste wax on with 0000 steel wool.  This removed the dust nubs and applied the wax. I rubbed it out with a cotton cloth.  This left a hand rubbed satin finish on the small cabinet.
I attached the top to the small cabinet with metal fasteners which allow for wood movement.
I also glued up the large cabinet.  I did it in two steps.  First I glued up the 2 sides. let them dry for a few hours and then I glued up end panels which completed the glue up process.  Doing it in 2 steps made it much simpler.
I am on waiting for it to dry.  Tomorrow I will spray the lacquer finish, then I will have to wait for it to cure for a couple of days before the rub out.
So here is today's video: