
After gluing up the top, the joints were not close enough to be acceptable so Doug Moulder suggested that I hide these joints with some inlay stringing.
I have some left over tiger maple from a previous project that should make a nice contrasting decorative inlay string.

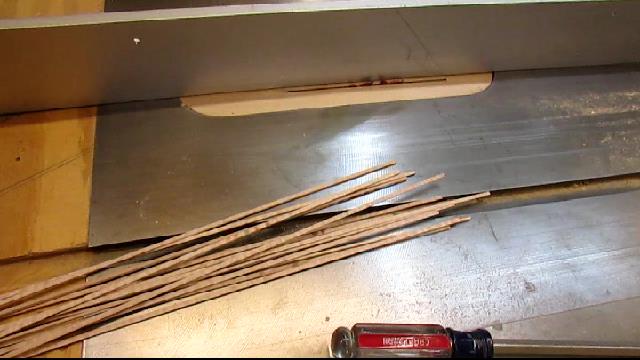
I cut it into 1/16 inch strips and then cut the 1/16 inch strips into 1/8 inch wide strips on my table saw with a zero clearance throat plate.
I used 1/8 inch router bit in some scrap cherry to test the width of the stringing. It is just slightly wider than the slot. I'll trim the stringing to fit in the slot later.

I made a measuring board which is half the width of the router base so I can set up the clamping boards to route the groove for the stringing. I test the set up here on a piece of scrap plywood.


Looks like this set up will work. So, I set it up on the table top. Here it is ready to go, notice that I have marked the center where the three will meet. I don't want to go too far, so I stopped short of the center and cut them with a bench chisel.

Last one routed now. Now I chisel out the center.

I made a simple jig to clamp the stringing in so I could trim the stringing to fit in the grooves. Just two pieces of scrap with a 1/8 inch groove between the two boards. Three screws pinch the stringing between to hold it while I use my low angle block plane to trim it to size.

Good tight fit.

Stringing glued in after mitering the three in the center with a bench chisel. They have 30 degree points.

Now I start to work on the drop leaves. I milled the board that I selected earlier and used a circle template to trace the circle on to the milled board. I free handed the circle cut on the band saw leaving myself about a 1//32 extra to be sanded off on the spindle sander.

Here are the three drop leaves next to the triangle top before I routed the rule joint on the two edges.
I matched the grain to the three sides as best I could.

After routing the rule joint, I had to miter the corners where the two drop leaves come together. This is a 60 degree cut, so I set it up on a piece of MDF angled at 60 degrees and then used a guide to cut the 90 degree cut off by hand.

Here is how it goes together. The top with the 5/8 inch round over with 1/8 in fillet, and the 5/8 inch hollow that I cut with the core box bit.


And now put together. I will fill that small opening in the end of the top.


I also put an ogee edge on the out side of the drop leaves.

So here it is altogether, ready for the hinges. I am glad that is done.

Here is today's video:
No comments:
Post a Comment