The lid support lopers need to have stops on them when they are pulled out. I drilled a 3/4 inch hole about 1/2 inch deep and put an oak dowel in the hole. I did not glue it in, I want to be able to remove it after the desk is assembled if necessary.
I want to make sure that it extends the right distance and is firm to support the lid.
Now I need to install the hinges on for the lid. I marked out the position of the hinges with a marking knife. Then set in the lines using a wide chisel. After that I used my routing plane to remove the material. I do the lid and the desk at the same time with the routing plane.
Once I get the mortises deep enough I install the hinges. Slotted screws get chewed up, so I will replace them when I finalize the desk.
Desk lid closes nicely. I am done with this step.
I need to make the bottom molding. It is 1 1/8 high by 13/16 thick. I have a large ogee router bit that works well to make the molding. I make a 1 1/8 inch thick piece of cherry stock wide enough to make several pieces. I run the end through the router bit and then rip off the molding on the table saw. I repeat the process until I have enough for the base of the desk.
Now that I have enough molding, I miter the front piece and glue and nail it to the front of the desk.
Making the stock for the curved bracket feet. To hollow out the cove I use the table saw to cut an ellipse where the cove needs to be. I make several light passes raising the blade a little each time. This will get it close and then I will finish it with hollows and rounds.
I am using a plane to round over the outer curve. I will use a scraper to smooth over the flats later.
Using my round wooden planes to finish off the cove I started on the table saw.
I use a scraper to finish the shape of the cove and remove the plane marks.
I made a custom scraper for the outside curve from a putty knife as I have done before. This cleans up the facets on the curve.
Now that I have the stock for the curved bracket feet, I trace the pattern on to the stock. The front two feet cut outs will be facing each other so that the grain runs continuously across the miter.
I used my chop saw to cut the 45 degree face miters on the front feet. You can see the pattern traced on the two sides. The rear feet will have a piece dovetailed in the back.
I cut out the pattern on the band saw.
I glue the front feet together with tape that stretches. This holds them together tight. I have preglued the end grain on the miter and let it dry. Then applied the glue again and taped them together.
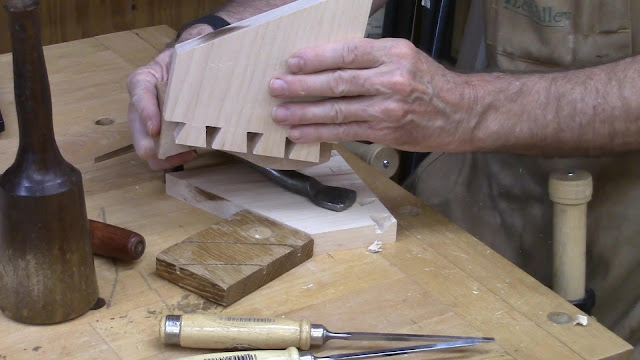
For the rear feet I make dummy feet for the back and dovetail them to the inside of the rear foot with a half blind dovetail.
I add glue blocks to the inside of the front feet for additional strength. There will be more glue blocks on the inside when I glue them to the bottom of the desk.
This is how they will look when glued to the bottom of the desk.
Here is today's video:


No comments:
Post a Comment