The capital has already been glued with the case. The column and the base need to be glued in. I use the bucket of hot water to warm the hide glue.
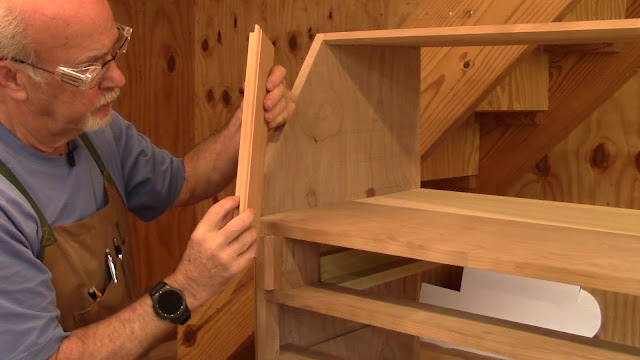
Next I start to work on the lid supports or lopers. I used soft maple for the runners and cherry for the ends. This is cross grain construction so there should be a mechanical joint between the two pieces.
There is more cherry than I need on the front here, I'll cut it off later.
I am putting a dovetail on the runner using a router bit.
I use the same bit to put a socket in the cherry end. The just slide together.
I put a 3/16 inch round over on the edges.
A little hide glue to hold them together.
Fitted to the openings. Later I will show how I fit the stops to the lid.
This is the last piece of 14 inch wide cherry that I have left from part of a log that I bought from Irion Lumber. The entire desk has been made from this same lot of cherry wood. I have several pieces of 13 inch but I need 14 for the lid. It has a bit of twist in the board but I have done my best to get it flat.
I need to put breadboard ends on the desk lid. They are 3 1/4 inches wide and are shown above.
I will put 1 1/4 inch tenons on the end of the lid to hold on the breadboard ends.
I use my radial arm saw with a 3/4 dado set to hog out the bulk of the material for the 5/16 inch tenons. The weights on the board are to keep it flat and hold it in place
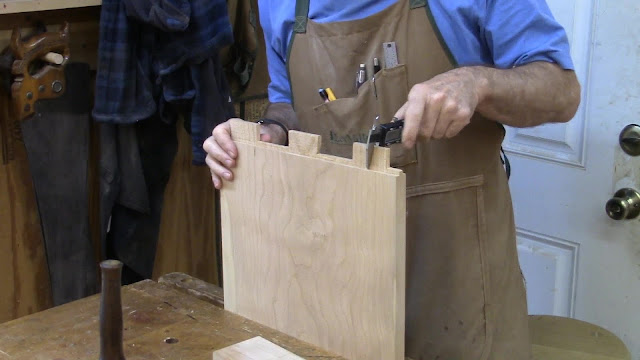
Tenons are slightly thicker and have to be cut out, each tenon will be 2 1/2 inches.
Cut out the waste between the tenons with a turning saw
Drilled the mortises on the breadboard end with my hollow chisel mortiser. 5/16 x 1 1/4 inches. The 5/16 inch 1/4 inch channel I made with a dado set on the table saw.
Checking the thickness
You can see the mortises in the ends. They should fit but should be snug.
Looks like a good fit.
Now I have to put a rabbet around three sides of the desk lid and then put a 1/4 inch round over all the way around four sides. The rabbet is 7/16 deep by 7/16 wide.
The rabbet has to be stopped on the bottom edge so I can carve out the corner and leave a small wedge looking piece to hide the open corner.
Here is the corner marked out with the rabbet stopped.
I used a fine saw to cut along the lines to keep the chop out with a chisel to a minimum
Here is the lid in place resting on the lid supports (lopers). Looks like it is going to work.
I still have to round over the edges, drill holes for the pegs and glue on the breadboard ends.
That will be in the next post.


No comments:
Post a Comment