I am starting to working on the top molding now that the top has been mounted in the previous post.
This molding is somewhat complex, so I will need to make it with hollows and rounds. It could probably be made with a series of router bits but I think it is easier with hollows and rounds.
The molding is 1 1/2 inches high and 1 inch wide. It is made of a flat, a cove, a bead, a flat, and lastly another small cove.
I need 3 pieces one for the front and two sides.

I decided to make a practise piece so that I don't waste the mahogany. I made a cardboard template of the profile and traced it on the side of the stock.
I marked out the steps that I am going to make with the table saw, This will remove the bulk of the waste. I turn it over on the table saw and raise the blade to the position on the drawing and make a pass.

Here you see it after I cut out the material on the table saw. This method works well with straight molding. If it were curved I would have to carve or use router bits.

Using various sizes of rounds and hollows, I cleaned up the steps and created the molding. Now I know the sequence and molding plane sizes that work well for this molding shape.

Now I am ready to work on the mahogany stock. I cut out the waste area using the table saw, I got carried away with making the steps. You really don't need as many as I made here but it didn't hurt.

I start with the large rounds to smooth out the large cove, I used two different sizes.
Then I used a smaller round to make the small cove on the bottom.

Then I used a small hollow to round over the bead. This took a steady hand on the front, back and top.

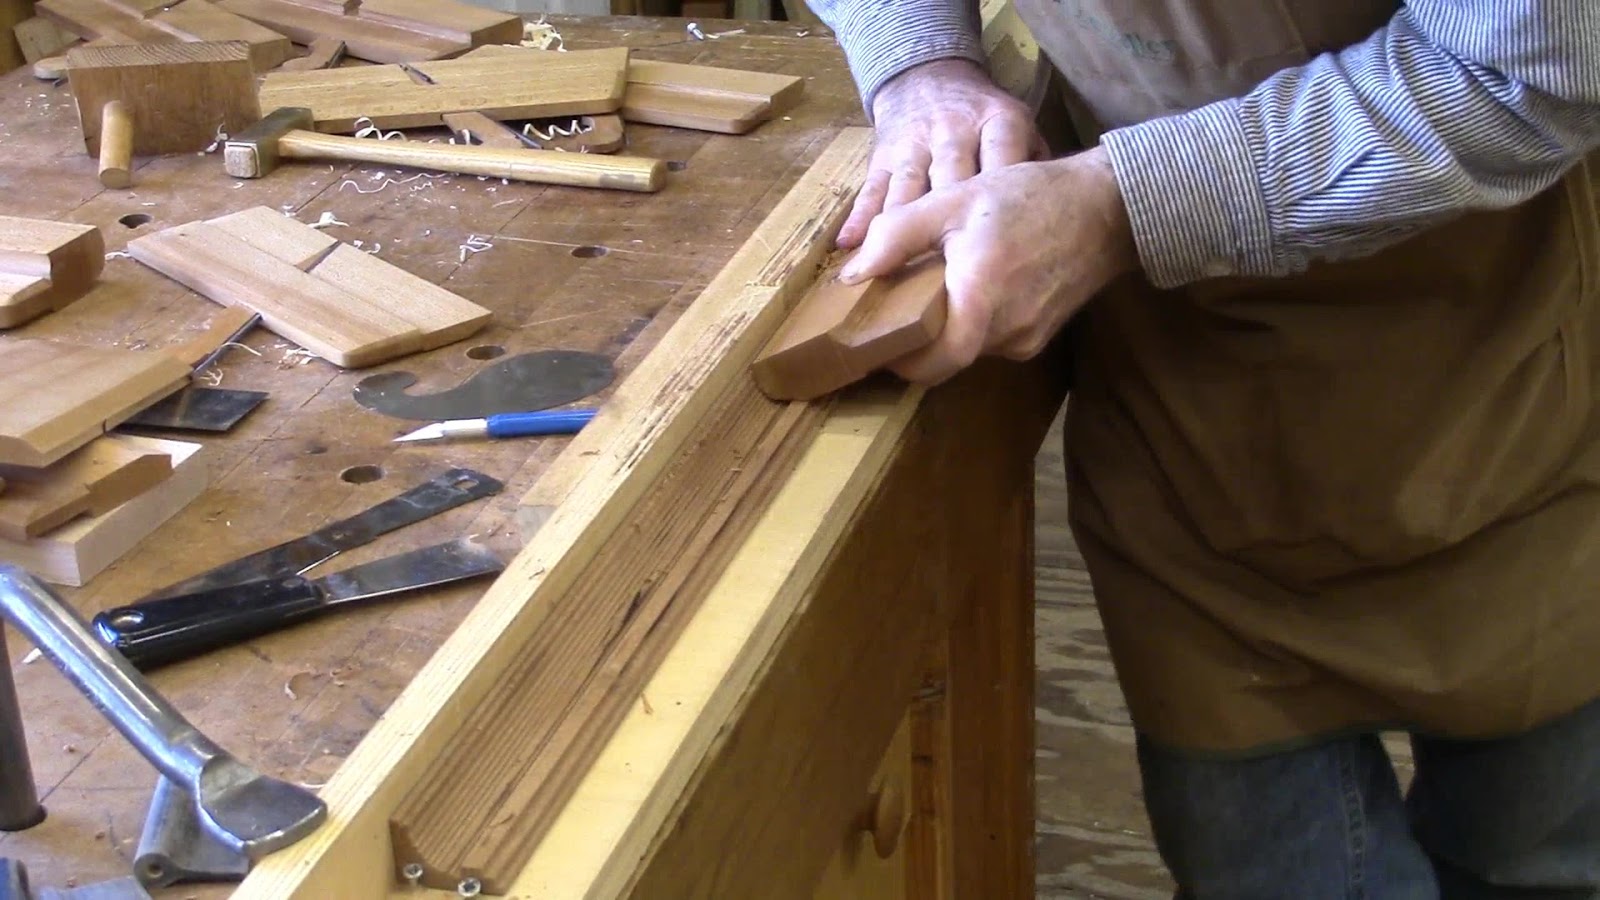
I made a custom scraper to clean up the bead. I ground the shape on a putty knife, I have done this many times before, then i save them.

I am using a custom scraper I made some time ago for a different project to clean up the small cove on the bottom. The large cove I cleaned up with sand paper on a dowel.

I placed the molding on the bureau and marked where the miters need to be and used my chop saw to make the 45 degree cuts. I used a shooting board to trim the miters.

I glued and pin nailed the front molding. Then I glued about 5 inches of the side molding and pin nailed the rest.

After the glue dried I cleaned up the miters with a little sanding and sawed off the excess on the sides.
That's it for the top molding, next I am going to working the drawers.
No comments:
Post a Comment