I want the grain to match on the drawer fronts, fortunately I have a board wide enough to accommodate the six small drawers and the one large center drawer.

All of the drawer fronts are 1 1/8 inch thick and have the same curved blocking pattern on the six drawers. The large drawer has the concave shell carved in the center and the two convex shell applied.
The drawer sides will be poplar since I don't have any chestnut that Townsend used.
I used the bandsaw to rough out the blocking pattern on the drawer fronts. Then I clamped them together and cleaned up the curves with a small plane.

I made a custom scraper from a putty knife, which I have done many time before. This profile that I ground matches the curve that I need on the drawer fronts. It does a good job of cleaning them up.

I put the drawer runners in the dados in the sides and used three nails to hold them in place.

Townsend's drawer construction was unique but since I am trying to be accurate in the construction I am going to build them as he did. He beveled the drawer bottoms to 1/8 inch and nailed them to the bottom. Then added running strips to the edges for the drawer to slide on. This results in the bottoms being seen on the sides.

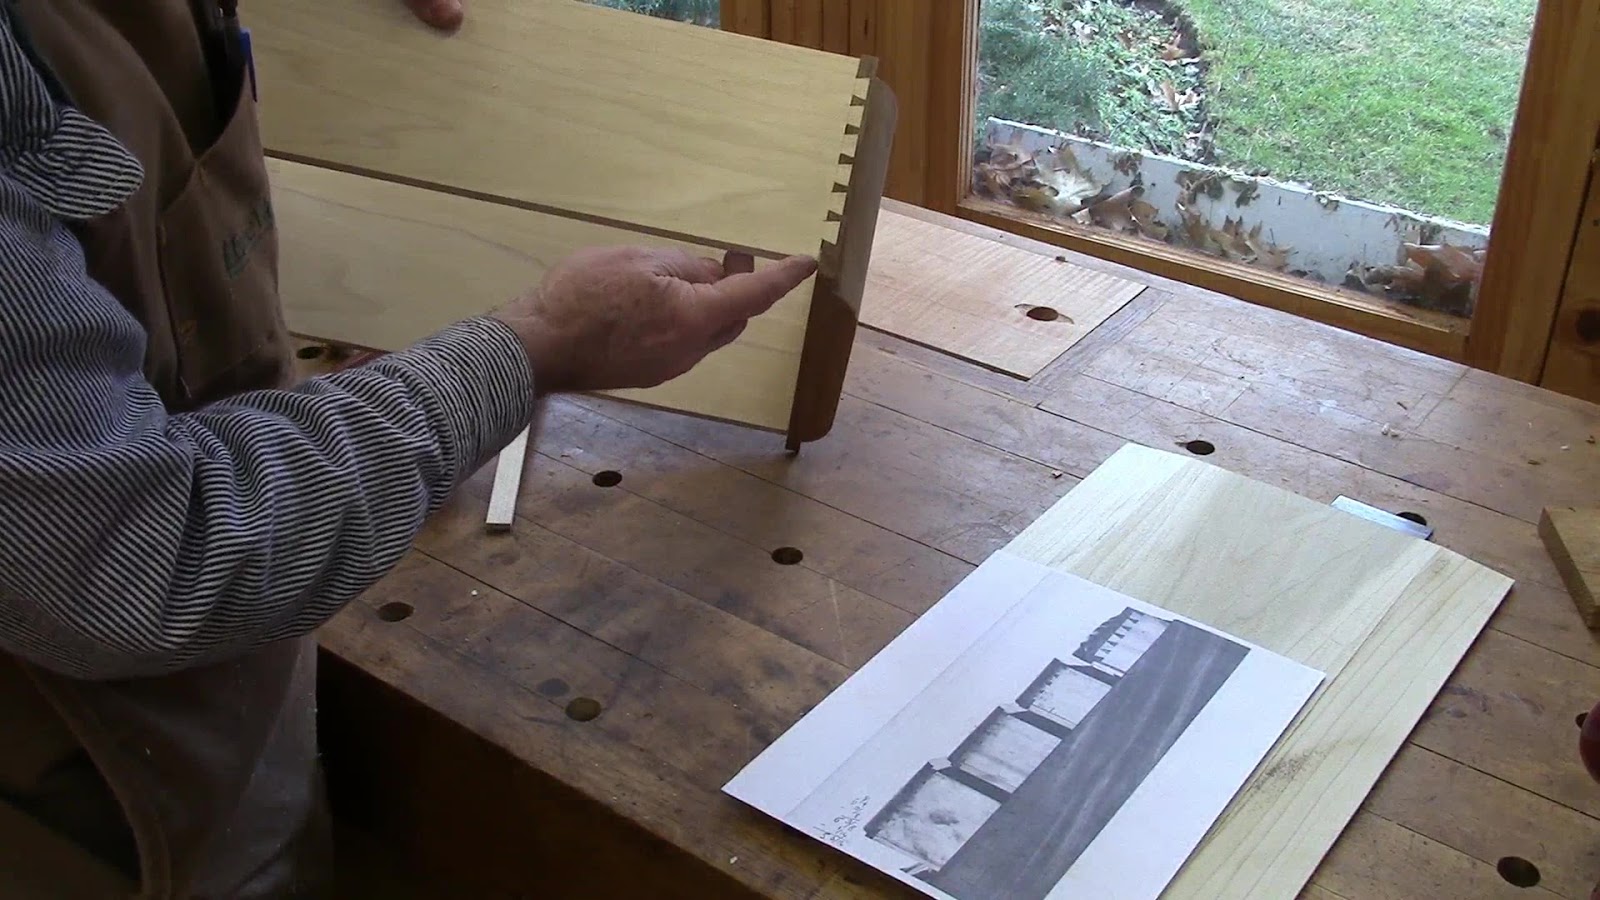
I counted the tails from the picture and fitted them to the space on each drawer to match what Townsend had done. The half blind dovetails are only 1/4 inch wide because the drawer front is only 3/8 of an inch thick at the edge.

The sides are 3/8 of an inch short of the front on the bottom to allow for the drawer bottom and runner.
The bottoms are 5/16 thick and I uses the table saw with a 6 degree tilt to create the bevel on the bottom. The bevel is 1 7/8 wide tapered to 1/8 inch.

The drawer runner is 5/8 wide with the same bevel as the drawer bottom. The wide end is 1/4 inch with the 1/8 inch bottom this make the 3/8 inch that is needed.


Drawer sides are 3/8 of an inch and rounded over on the top.
Sawing the pins on the drawer fronts, like classic 18th century dovetails my saw cut goes past the thickness of the side and can be seen after the drawer is assembled from the inside.

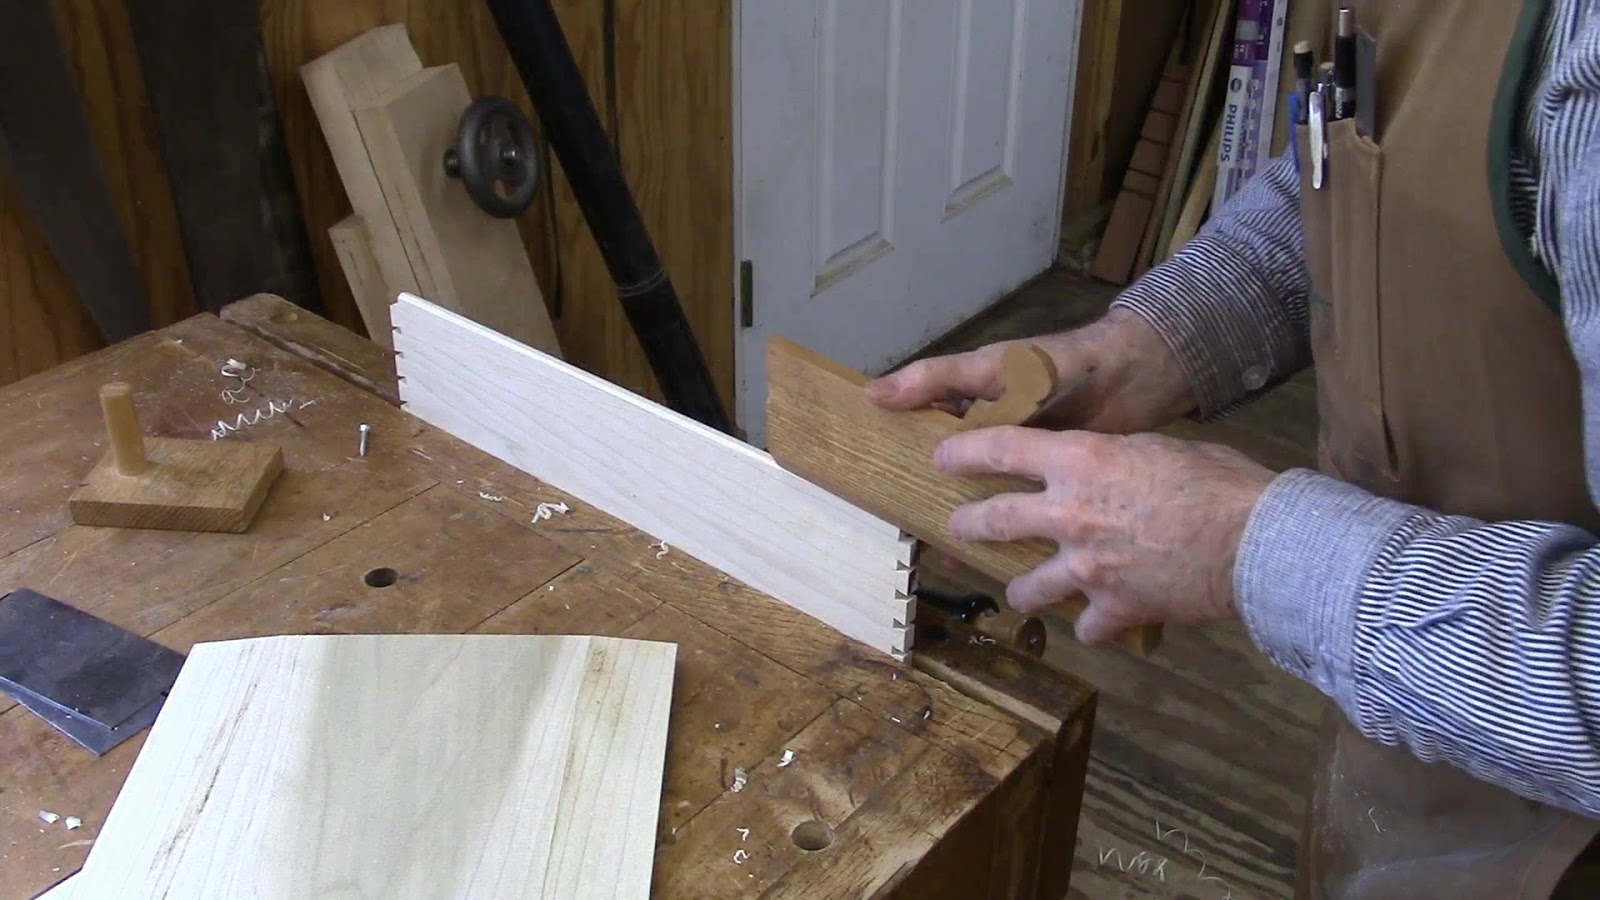
Dry fitting the dovetails, I want a nice tight fit.

I am applying hide glue to the drawer runners before nailing them on.

Using my 18th century pin nailer I nail on the drawer runners. I will cut them off in the back flush with the bottoms.

That is it, all assembled. I may have to hand plane the sides or bottoms for a perfect fit in the drawer opening.

I need to repeat the process six more times for the rest of the drawers.
That's it for today. Next I'll carve the large concave shell in the top drawer.
No comments:
Post a Comment