Below is a picture of the side molding on the upper chest. It starts with an ogee, then 3 flats, the a cove, followed by a bead.
This is a photo that I took at Yale when I was studying the Chapin Highboy.
Doug Moulder made me a full size drawing of the molding with his C.A.D. software. This will make it easy for me to copy the pattern.
The molding is 1 3/4 inches wide by 2 1/2 inches high. I milled some soft maple to that size and pasted the molding pattern to the edges. This will make it easier to matched the profile to the wood.
Here I am using a 1/4 inch dado setup to remove the waste material so that I can use my hollow and round planes to cut the profile. I have created steps here for the ogee portion of the molding.
Now I have to take out the material for the flats and the cove.
I am taking out the last little bit with a regular saw blade because of the size of the cut.
Now I have to saw off the support piece and leave enough material for the bead on the bottom of the molding.
I added the bead on the bottom with the router. I learned later that I should do this last, but then again this is what practise is for.
Ready for the hollows and rounds. Here I am using a 1/4 round to make the hollow upper part of the ogee.
Then I used a 1/4 hollow to create the round on the bottom of the ogee. Here is the ogee complete.
Now for the cove. I am using a 1 inch round here to remove the material for the cove.
Everything went well, except I ran over the bead. This will not work since I can not get that close to the bead with my round molding planes.
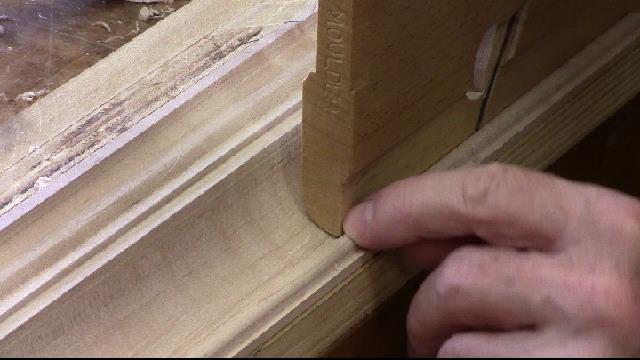
Doug Moulder brought over his side round molding planes, these are flat on one side and round on the other. There is a matched set one for each side.
The side rounds are what I needed to get close to the bead but not cut into it as you can see in the picture below.
Doug also brought his snipes bill planes. There are used to start a bead in the middle of a board, they are also matched pair for left and right planing. We weren't sure that we would need them. As it turn out we did not.
Now the molding looks good, I have had enough practise so now I need to do this with the cherry stock and then miter and mount on the top of the chest.
Here is today video:


No comments:
Post a Comment