In the last post I finished by gluing up the frame. Now it is time to work on the back splat. There is already a mortise in the underside to the top rail. I need to make the shoe and the splat.
Below I am band sawing the shape of the shoe. You can see that I have already roughed out the cove on the stock. This will be refined by later with carving chisels.

Beginning to look pretty smooth.

I used a template with the curve of the splat to locate and then cut 1/4 inch mortise in the top of the shoe.

You can see the pattern on the side of the splat, I also made a jig to help keep the 10 inch piece of walnut at right angles to the saw blade.

With the overall shape cut out I am using a spoke shave to smooth over the band saw marks and bumps.

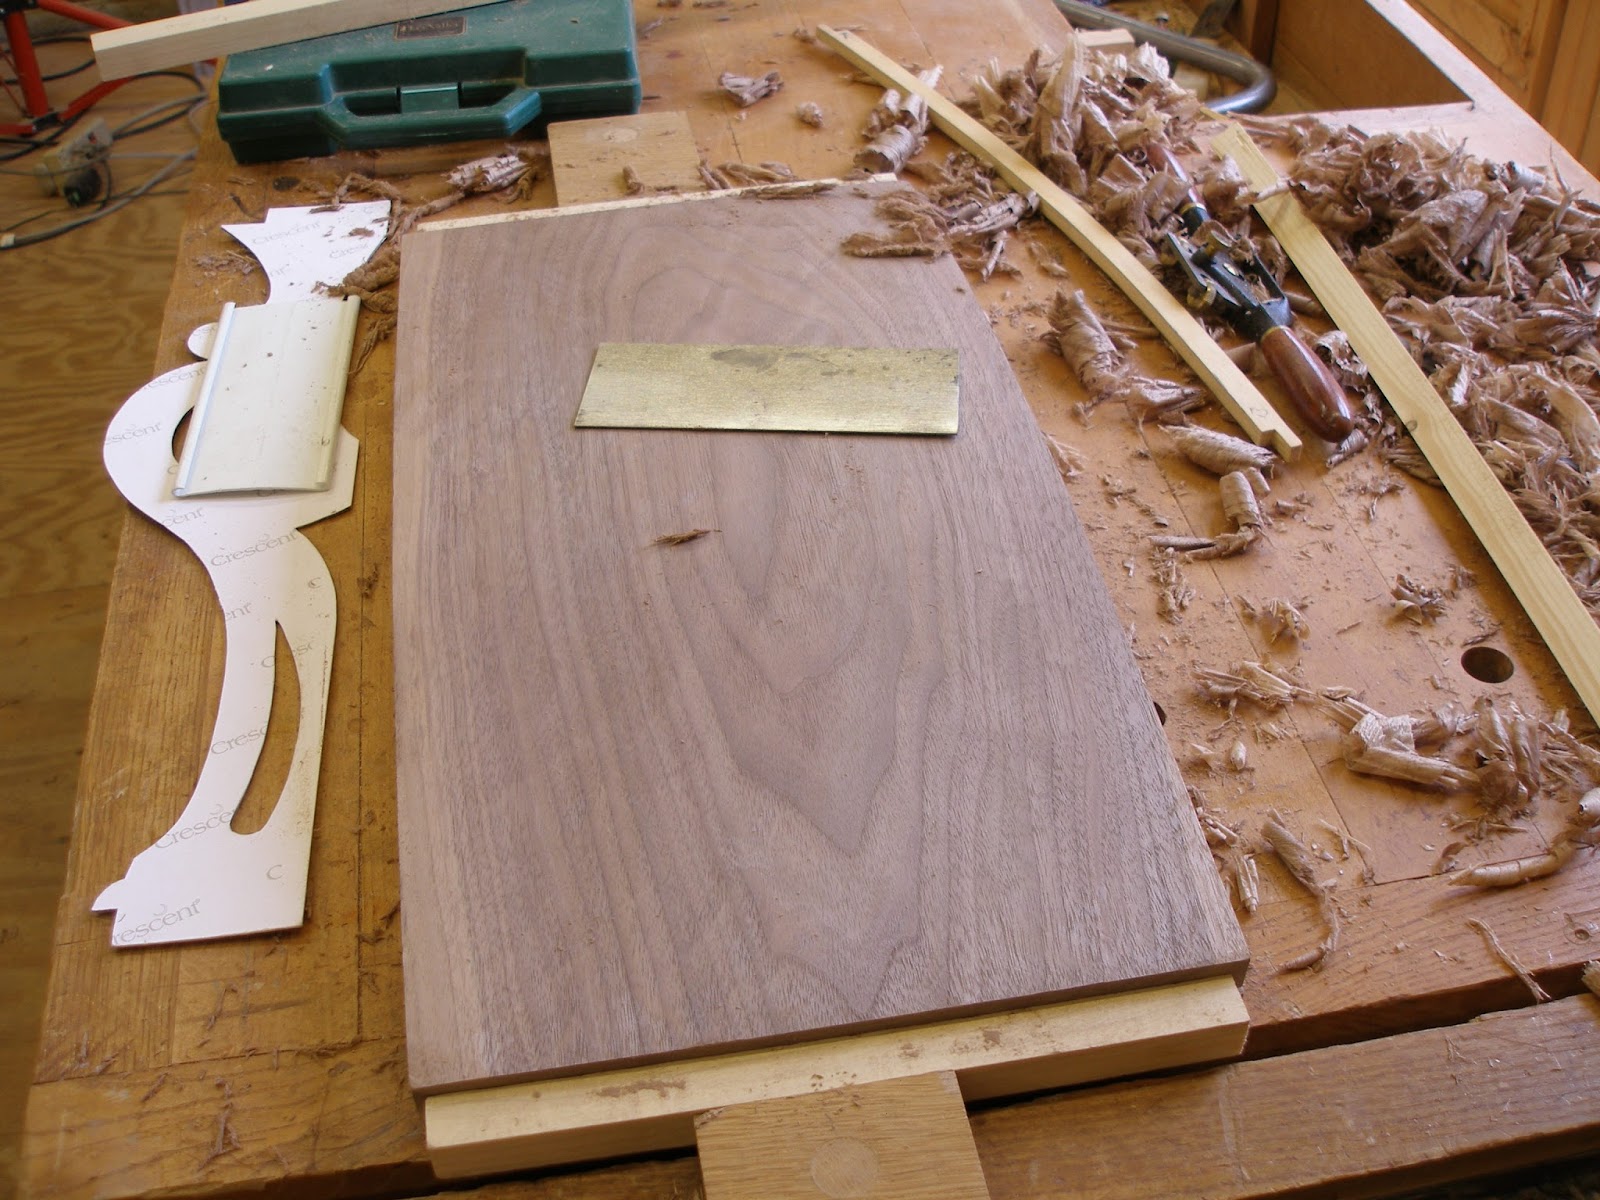
Using a card scraper here to get things smooth. You can see the wood template on the top right that I used to set the shape and length of the back splat. On the left you can see a card board template of half of the splat pattern. I used it to trace the pattern on to the board.
All marked up here and ready for the band saw and scroll saw.

I have a piece of soft pine underneath to support the curve of the splat as I cut it out. The splat is 1/2 inch thick.

I use the drill press to drill pilot holes for the scroll saw work on the interior openings.

Using the scroll saw to cut out the interior openings.

Using a Stanley 78 fillister plane to create the 1/4 inch tenon on each end of the splat.

I did check the fit before I cut out the interior of the splat on the second chair. Since I was making 2 chairs everything you see was done twice as I went along.

Here it is cut out before carving. Since there is a curve to crest rail the splat had to be curved at the top to match the crest rail. The partial picture of the chair in the background is a maple chair I had made in another project.

Cleaning up all of the saw marks on the inside and outside was a lot of work. Times 2.

Carving the designs on the splat is delicate work.

Just about done with this one.

Now I am working on the arms. This rear of the arm must fit in the shallow mortise on the rear leg.

Looks like a pretty good fit in the back of the arm. Notice also that I have added pine blocks to reinforce the corners of the seat.

Shaping the arm and arm support.

The arm has a long 4 inch screw which is pre-drilled and counter sunk from the back. Then a plug is inserted.

Small transition piece is glued to the back of the crest rail, not to the splat.

After carving the front of the arms looks like it is ready for finishing.

Maple drop in seat frame for the upholstered seat.

I used a seal brown water based dye and sprayed shellac as the finish.

All done. Arm chair are a lot of work.

No comments:
Post a Comment