I started the project by selecting a chair from a book 300 Years of Seating by Patricia Kane. The chair that caught my eye was by Eliphalet Chapin. This chair was located at the Yale Art Museum.
I contacted them and asked if I could view and measure the chair. They agreed, so my wife and I traveled to New Haven, CT. The staff at Yale were very helpful and I was able to photograph and measure the chair. The original was made of cherry.

The first thing that I did was make three full size drawings of the chair. Front view, side view and top view of the seat.
I still have pdf's of the drawings. From the drawings I made a number of templates from wood and poster board.
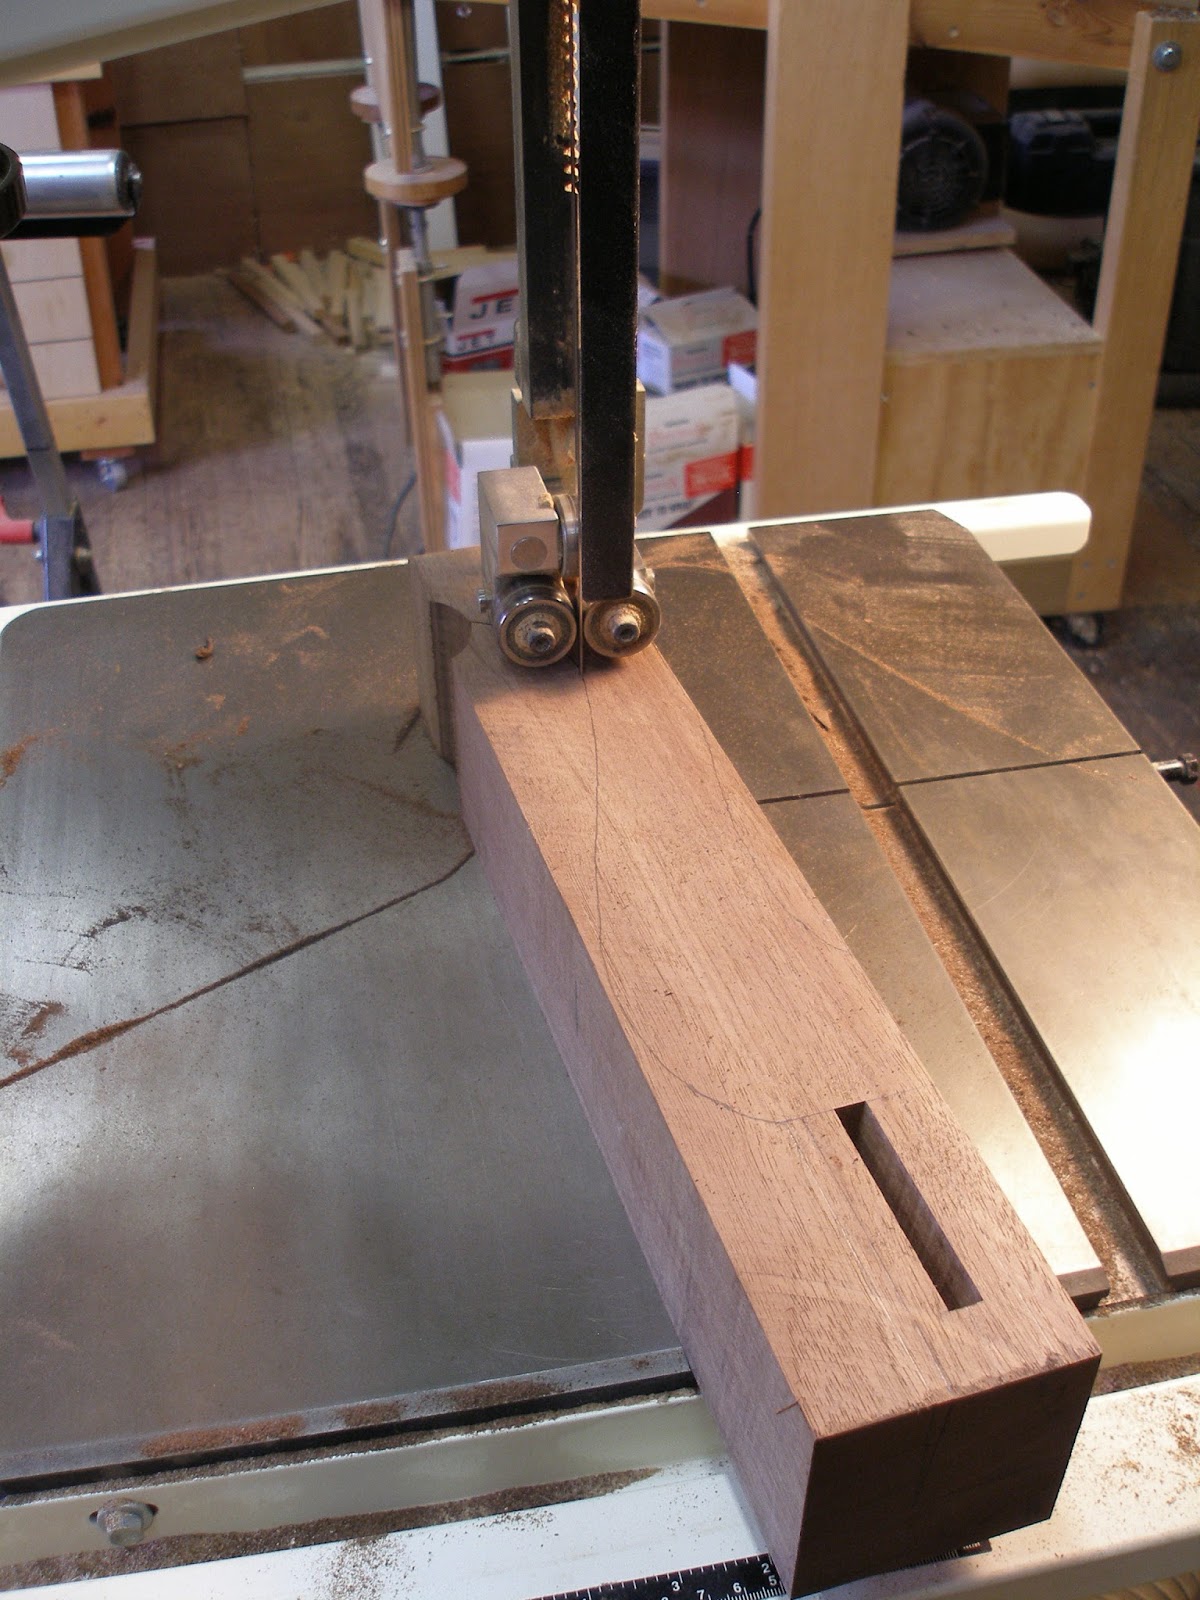
I started with the rear legs. I had two templates one of the front view of the leg and one of the side view of the leg. I started with 1 3/4 inch stock. If you have wide enough stock you can nest these legs. I was able to get 2 from this piece. I cut them out with a band saw.

This picture shows the front template laid on the leg. Although the leg in the picture is already shaped.

Here are two legs after sawing and the rear seat rail mortises. The rear seat rail tenons have a 5 degree angle. The mortises are not angled.


Next I needed to put the angled mortises for the side seat rails. These are compound angles 6 1/2 degrees for the seat angle and 5 degrees for the leg angle. I used wedges in my hollow chisel mortiser. The tenons on the seat rails would be straight since the mortises where angled. Some makers angle the tenons but this makes a weak tenon.

Here how they looked after. Notice that I put a compound miter on the bottom of the legs, so they would sit flat.

Angled mortises for the front legs on the side but straight on the front rail. 6 1/2 degrees on the side.
The seat is a trapezoid.

Band Saw the rough cabriolet legs.
Fitting the side rails, since the mortises are angled, the side rail tenons are straight. All that is missing on the bottom is the front rail which is straight.

Now to work on the crest rail. These tenons can be loose or fixed. I decided to make them fixed I am using a straight edge to set the parallel lines for the cuts.

Cutting the stock for the tenons for the crest rail.

One done 3 to go. You can see the template line for the material that has to be removed for the shaping of the leg.

Using a template that fits the tenons on the leg, I transferred the openings and made the mortises. I also cut the mortise for the splat at this time. I made wooden template for this because the card board was too flexible but the wood template is not in the picture.

Two rough chairs. Now for some shaping in the next installment.

Have a nice day
No comments:
Post a Comment