I have an ogee bit which can put the edge on the top that I need. It takes 3 passes with the router as I raise the bit a little each time. After that I put a 1/4 inch round over on the bottom to meet the ogee from the top.
Now I need to carve the four corners of the top with what I call the baby butt corner, some people call them notched corners. I have carved this shape before but I thought I would carve a practice one to re-familiarize myself with the shape.
Below is the practice one sitting on the top. I have marked out the design on the bottom of the lowboy top. This is a 3/8 inch radius on either side set 1 inch back.
I need to turn it over and put the 1/4 inch radius circles on the top.
I cut out the 3/8 radius circles on the bottom with a saber or jig saw. I need to set in the top circles with my carving chisels, I use a number 5. And then start to carve the shape.
I start by making a groove down the center and extending the cove at the top of the ogee into the valley created by the groove.
I am using a 1/2 inch #3 to round over the lower portion of the ogee.
Here I am continuing to round over the lower portion of the ogee.
I have turned over the top and am extending the 1/4 round over which is on the bottom into the 3/8 inch radius curve.
This doesn't take too long but you have to watch the direction of the grain so that is does not chip off.
I have the shape that I want so all there is to do is clean up the rough chisel marks. I am using a fine almond shaped file here to smooth over the corners. I will sand to 180 later when I do the rest of the lowboy.
One done and 3 to go.
There is a detail video on the carving here:Curved Blockfront Dressing Table Carving Baby Butt Corner Step 25
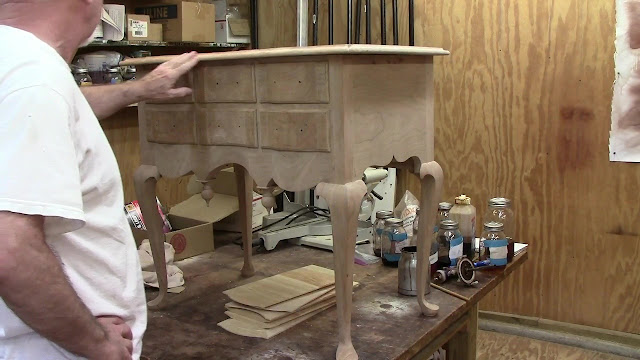
Well, I have completed all four and positioned the top on the case. I need to mark where the screws will go and drill the holes. Then take it off to prepare for finishing.
The construction is complete. Unfortunately there is nothing left to do but sand and finishing.
These are the tasks for me that are not too much fun. But I have to do them next.


No comments:
Post a Comment