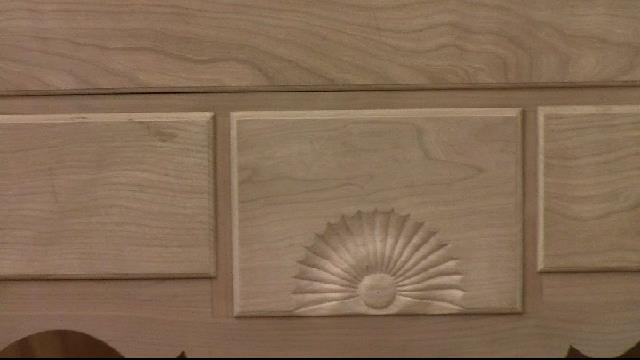
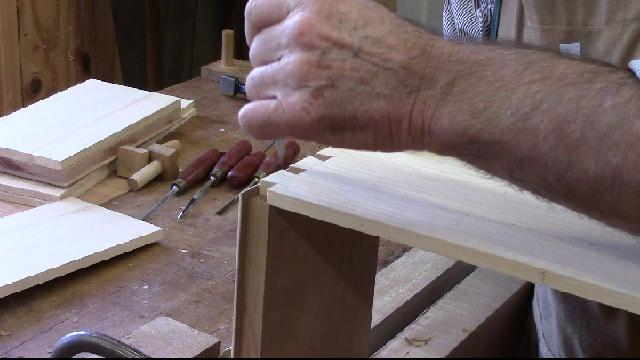
I have not carved one before and this one is not too complicated. However, it is very delicate.
I have some picture of the cartouche from Winterthur and Yale. The Winterthur cartouche is an original but the one from Yale was reproduced in the 1960's. I can understand why because they are very fragile carvings.
Below are several pictures of the front of the carving. I enlarged the pictures to the actual size which is about 12 x 6 inches and the carving is 1/2 inch thick. I was able to measure and study it when I was at Yale in June.
I traced the picture on a piece of 1/2 straight grained cherry with carbon paper.
Now I need to cut it out with the band saw and scroll saw. I used the band saw for the outside and the scroll saw for the inside.
If you watch the video all you will see of me cutting out the inside with the scroll saw is the camera jumping up and down. I got this old scroll saw from a high school shop.
Here it is after I have cut it out. I left 1/64 around the lines so I had some clean up to do with the spindle sander and files.
I attached it to my carving board with double backed tape, but there was not enough surface to make it stick well, so I ended up using the small clamps.
Below you can see that I have started to carve from the top and to the first circle. One problem I had was not having a 3d model to look at while carving. I don't remember all the details from the visit to Yale. I decided to carve 3/8 of an inch on the face and then undercut the back to make the carving look thinner than it is and leave sharp edges on the inside.
If you look closely below I have carved the inside curve of the top of the large circle but the remaining portion underneath is still there, I have not undercut the circle yet. Later you will see what it looks like after it is undercut.
Below I am carving the cove in the inside of one of the leaves. Because most of the shapes on the cartouche are near circles, the carver has to be very aware of the grain changes. Each quarter of a circle the grain changes direction and where they meet is always a problem.
Again you can see the line marked on the bottom where I am going to stop carving on the front and then undercut from the back later. I am using a 1/2 #5 here and I used #5's and #3's on most of the carving.
It is coming along here, the picture is a little fuzzy, but the carving is smooth, the small curve in the middle was difficult because it seemed that the grain was always changing.
I am studying a smaller picture of the cartouche so I can see detail that is lost in the larger blow up. I lighting is better on this photo where the shadows and highlights show the curves.
Here is a picture of the back of the cartouche I have undercut all of the curves from the back to make the sharp edges on the front.
Below is the finished cartouche, it is a little hard to see but the edges are nice and sharp. After all the carving the piece has very little weight to it and is fragile. Hope I don't break it before I get it mounted.
Got around to mounting it today.
This completes the construction, I need to finish mounting the hardware, then take it off. Next is sanding and finishing.


