I hand planed the lid width to match the little top piece, then located the hinge mortises 4 inches from either end.


These brass hinges will be antiqued later with a darkening solution. I need to make a 3/32 inch mortise in the lid and the top. So I am using my hand router to do this. I like to use it better that chopping them out with a chisel. Although I think it is slower, I get a flatter more consistent bottom.

Here is lid attached to the desk, I check to see that the space between the lid and the top is equal to the thickness of two business cards.


Next was to decide on what I wanted to do with the gallery. I decided to make 3 drawers on the bottom and 4 pigeon holes on the top by dividing the space in half.
I milled some 3/8 inch stock and made the outside frame which will slide into the space in the desk. There are a number of ways to fasten the frame together but I chose to dovetail it.

After I dovetailed the frame, I slid it in place to check the fit.

Next was to layout where the dividers would be to make the drawer openings and pigeon holes. This is where I would need to cut dados or grooves.

I put the dados in the sides first and then measured for the center piece. The dados are a little less than 3/16 inch deep in the 3/8 inch material.

Then I cut the dados in the center piece and matched the lines on the top and bottom.

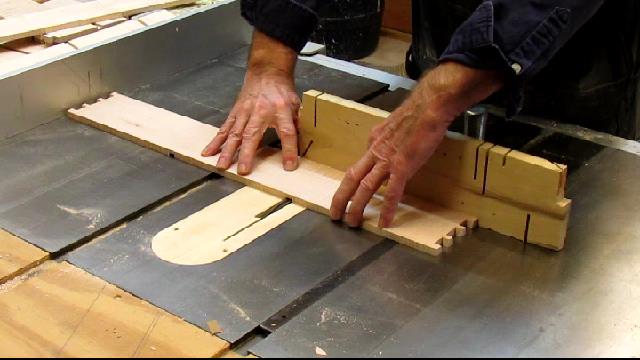
Cutting the dados on the bottom with a stacked dado on the table saw.
Inserting the vertical dividers. Long grain is exposed on the front of the dividers.

Test fit to make sure it still goes into the opening.

Gluing up the gallery, then on to making the drawers.

Here is today's video:
No comments:
Post a Comment