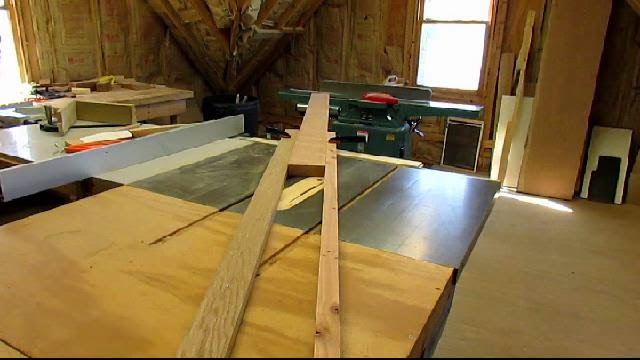
It was so long that I had to support it with a roller stand in the rear. I had made markings on the out-feed table when I cut the practice piece, so lining up the guides was an easy process.
You can see the pattern here traced on the end of the stock.

It took awhile and lots of cherry saw dust but the cove is cut.

Now I need to round over the reverse curve with the hand planes and scrapers like I did with the practice piece.
One thing I did not do when I made the practice piece was to add the molding to the bottom of the foot. To do this I cut a 1/8 inch fillet at the bottom of the cove to add a separation to the view. Then I need to round over the newly created pad.
I used my 5/8 inch hollow plane which fit the curve pretty well.

The cherry was nice to work and responded to the sharp hollow plane well. No noisy routers in sight.

Now that the molding is created, I traced the pattern on to the face. I need six pieces. Two sets of two facing each other for the front bracket feet and two for the left and right rear feet. The rear feet are flat on the back with a dovetailed piece to finish the foot. (more on that later)

I used my sliding compound miter saw (sorry if you wanted me to cut them with a hand saw) to cut out the pieces and miter the faces of the two front feet at 45 degrees. I tested the cuts on a piece of scrap to make sure the saw was set at 45 degrees.

Here are the six pieces after they were chopped out on the miter saw. Now I have to cut out the shapes by tracing the pattern on the back. The bandsaw made quick work doing the cut outs, there are no tight curves. I cleaned up the bandsaw marks with files and sand paper.

When I cut out the front two pieces I added 1/4 inch to the length of the pattern to allow for the two 5 degree miters that I have to cut for the front curves.
Once those miters were cut I had to glue them back together. Those boards in the picture that the pieces are laying on are cut at 5 degrees so they are holding the pieces exactly at the correct angle. Wax paper is underneath to keep the glue from sticking to the bench. I will reinforce these joints later.

While the front pieces were drying, I could work on the rear feet. These are finished with just a flat board that I cut out of soft maple and half-blind dovetailed into the rear of the foot. Here I have completed one and am chopping out the pins on the other.

Now it was time to glue together the front two feet with the 45 degree miter. One way to keep them together is to put a spline between the two which keeps them from sliding while the glue is setting, I have used that method before. If you don't get the spline in the exact spot in both the two don't come together exactly.
I found a great article in Fine Woodworking #220 July/August 2011 on ogee bracket feet. Dan Faia made a jig with angled blocks, plywood and sandpaper. You clamp the plywood to the rear and then you can clamp the fronts straight across. Works perfect! I had to modify it a bit to allow for the angled fronts. I used the cutoffs from the miters I cut for the blocks, they are glued to the plywood.
If you want to learn more about this, get the article, it has everything you need to make ogee bracket feet.

Once the glue dried, I added reinforcing blocks to the back of the feet and glued them in place. These also help with attaching the feet to the bottom of the chest. I sawed off the extra and did the final clean up. Again the wax paper to keep them from sticking to the bench.

I still needed to shape the front legs to match the curve on the chest. I drew a reference line on the piece from my template. Then I used a spokeshave to remove the material a little at a time. I frequently stopped and put the leg in place under the chest to see how I was progressing. I did not have to take off a lot of material but the shape needed to be correct.


I sanded everything to 180 grit before attaching the feet to the chest. I attached the feet using #10 screws and glue. After marking the position on the feet, I turned it over, drilled and attached the feet. Then I took them off, applied glue and reattached with the screws. This prevented them from sliding around before the glue was set.


All done. Feet attached and back upright. Looking pretty good.


Here is today's video:
No comments:
Post a Comment