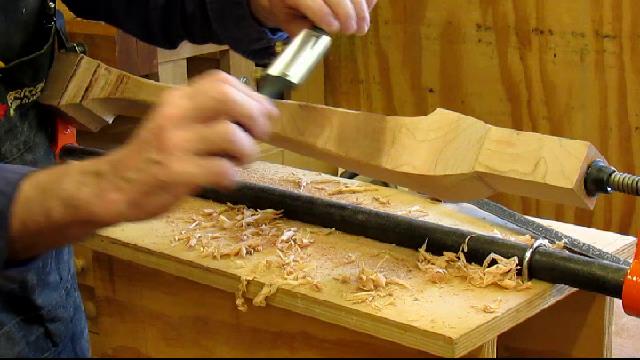
I have videos on youtube with time-lapse photos of carving the whole ball and claw if you want to watch them. In this post I will just high light the steps.
I learned to carve the ball and claw from Mary May. If you really want to learn to carve a ball and claw take a lesson from her. She has a plan which includes step by step pictures and tips on carving each step. I follow her plan every time I carve one of these.
I layout the foot following her instructions but I have to reduce the sizes by an 1/8 inch since the foot for this table is 2 5/8 instead of the 2 3/4 inch on most feet.
This first step after layout is to carve a cylinder to the first circle line on the bottom. Below is a picture of the first side being rounded over. I am using a 1/2 inch flat chisel or a 1/2 inch #3
I set the lines in using a v chisel to start.
Below shows all 4 sides rounded over to a cylinder.
Using the square I check to see that the cylinder sides are flat and square to the bottom.
Now the feet or toes need to be trimmed back to the layout lines.
The next step is to find the center of the ball which about 7/8 inch from the bottom and round over the lower part of the ball to the second circle on the bottom of the foot.
Below I have rounded over the lower half of the first side using the plaster cast as a guide.
I can check the curve by using a molding gauge, I copy the curve from the plaster cast and match the carved ball. This helps me but most carvers wouldn't need it.
After rounding over the 4 lower areas of the ball, round over the top section of the ball. I am using a flat chisel or a #3 to do the carving. Again I use my molding gauge to check the curve of the entire ball.
After carving the top sections of the ball, I work on creating the web. I free hand the lines on leg to create a v shape while keeping the size of the toes equal all the way up. I use a #7 or #8 to carve out the web.
This area of the foot is easier to carve if you have a spoon gouge but it can be done with out.
Now I start to round over the toes and create the talons. You can exercise you artistic talent here and shape them to create different moods. I use a flat, #5 and #3 to form the toes and talons.
I usually adjust the height of the knuckles to a little lower, I don't like them to stick out too much.
With the last toe carved I need to clean up the rough carving marks and blend it in to the upper part of the leg.
Here is the ball and claw after I have cleaned up the rough spots with files and blended it into the leg.
It would still need to be sanded.
Only 3 more to do. I had better get busy.
Here is today's video:


