Search This Blog

Monday, February 15, 2016

Old Build - Pair of Walnut Chippendale Arm Chairs

I currently do not have an interesting project going on right now, Lots of honey do's. So I thought that I would post an old project that I built about 4 years ago.  This was before I was making videos so there are only still pictures of the project.

I started the project by selecting a chair from a book 300 Years of  Seating by Patricia Kane.  The chair that caught my eye was by Eliphalet Chapin.  This chair was located at the Yale Art Museum.
I contacted them and asked if I could view and measure the chair.  They agreed, so my wife and I traveled to New Haven, CT. The staff at Yale were very helpful and I was able to photograph and measure the chair.  The original was made of cherry.


I had decided that I would make a pair of them from walnut.
The first thing that I did was make three full size drawings of the chair.  Front view, side view and top view of the seat.

I still have pdf's of the drawings.  From the drawings I made a number of templates from wood and poster board.

I started with the rear legs. I had two templates one of the front view of the leg and one of the side view of the leg.  I started with 1 3/4 inch stock. If you have wide enough stock you can nest these legs. I was able to get 2 from this piece. I cut them out with a band saw.


This picture shows the front template laid on the leg. Although the leg in the picture is already shaped.

Here are two legs after sawing and the rear seat rail mortises.  The rear seat rail tenons have a 5 degree angle. The mortises are not angled.


Next I needed to put the angled mortises for the side seat rails.  These are compound angles 6 1/2 degrees for the seat angle and 5 degrees for  the leg angle.  I used wedges in my hollow chisel mortiser.  The tenons on the seat rails would be straight since the mortises where angled.  Some makers angle the tenons but this makes a weak tenon.


Here how they looked after. Notice that I put a compound miter on the bottom of the legs, so they would sit flat.


Angled mortises for the front legs on the side but straight on the front rail. 6 1/2 degrees on the side.
The seat is a trapezoid.


Band Saw the rough cabriolet legs.
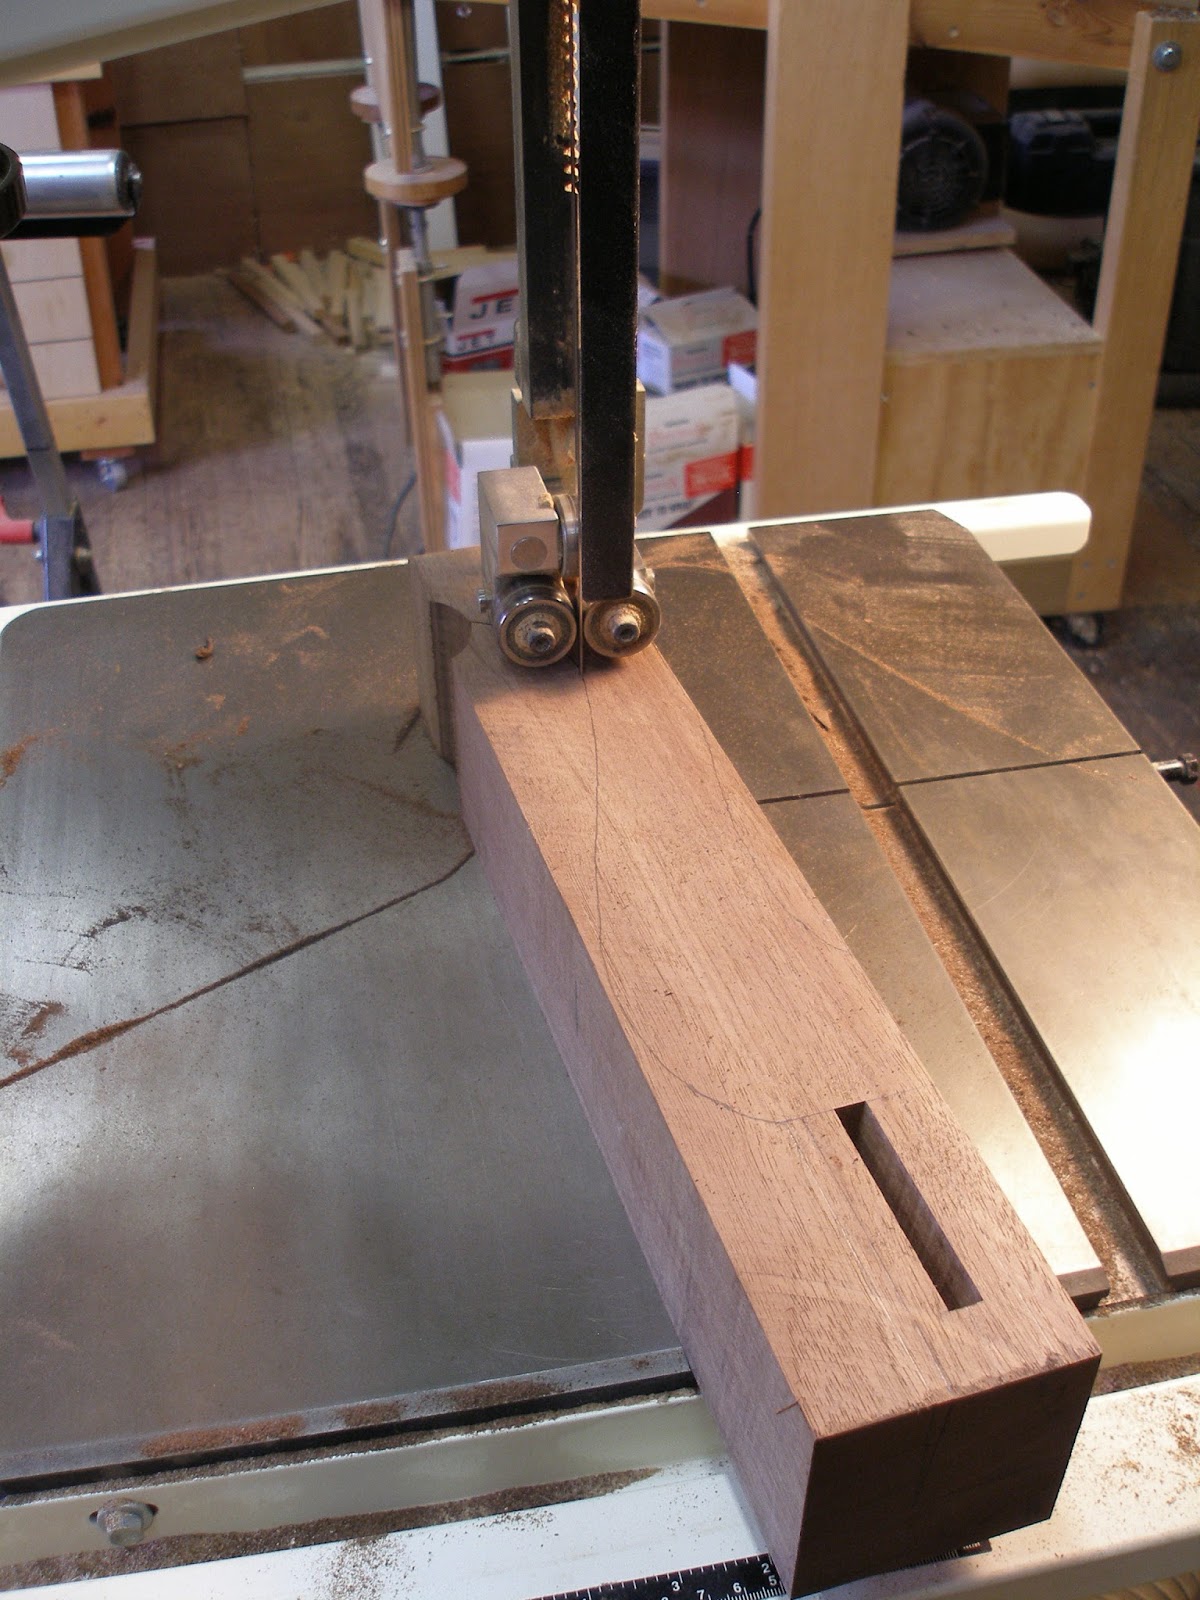

Fitting the side rails, since the mortises are angled, the side rail tenons are straight. All that is missing on the bottom is the front rail which is straight.


Now to work on the crest rail. These tenons can be loose or fixed.  I decided to make them fixed  I am using a straight edge to set the parallel lines for the cuts.


Cutting the stock for the tenons for the crest rail.


One done 3 to go. You can see the template line for the material that has to be removed for the shaping of the leg.


Using a template that fits the tenons on the leg, I transferred the openings and made the mortises. I also cut  the mortise for the splat at this time. I made wooden template for this because the card board was too flexible but the wood template is not in the picture.


Two rough chairs. Now for some shaping in the next installment.


Have a nice day

Friday, January 22, 2016

19th Century Clerks Desk -Making a Matching Stool - Step 9

I decided that the clerks desk needed a stool to sit on if someone was going to actually use the desk.  So I searched around the internet for various stool pictures until I found one that I liked.  I roughed out a set of dimensions and built a quick prototype to test the height in front of the desk.  I decided it should be 25 1/2 inches.
Then I made a full size drawing.

I still had a little of the wood left over from the desk, I could get the legs of the stool to match the desk. The legs are 1 1/4 inch square.


Then I turned the ends to 1 inch round so they could fit into the seat of the stool.


I wanted to make the stool seat from a single piece of wood and not glue it up.  I needed an 1 1/2 thick piece that was at least 12 inches. I used a compass to scribe a 12 inch circle and then cut it out on the bandsaw.   I cleaned it up with a spindle sander.


Now I calculated the angle to be 5 degrees and I drilled 5 degree holes in a practice piece of plywood.   But when I assembled it, it was too narrow.  It seems that the actual angel was 10 degrees because I did not have a drawing with the correct view of the leg as it was attached to the seat.


Doug Moulder came over to the shop to help figure this out and of course he usually does. As it turns out it was 10 degrees and I did not have to tilt the seat at a compound angle.  As long as we kept the angle perpendicular to the drill and tilted it to 10 degrees everything worked out.
You can see above that I also got some practice on rounding over the edge of the seat with a router bit.  I tried various depths to see how much I wanted it rounded.


Once I dry fitted the legs in the stool seat Doug and I were able to scribe lines for the stretchers and then drill 3/4 inch holes.  The stretchers are 3/4 inch turned maple.

The bottoms of the legs where cut off on a table saw with the compound angle of 10 degrees in both directions.


  I put a 3/16 inch gap in the top of each leg and made wedges with a 1 degree slope over the 1 3/4.

 The legs stuck through an extra 3/8 inch which I cut of after the glue up.  

Everything was sanded to 180 grit before the glue up.


After the glue up I flush trimmed the stool legs through the top.  Then I pre-wet the stool with warm water and let it dry.  This raised the grain and I sanded it back with 320 grit paper.

After that I applied 2 coats of the water based dye that I used on the desk.  After the dye dried I sanded again with 320 grit to knock off the fuzzies.


Now I was ready to apply the Waterlox tung oil/varnish.  Here is how it looked after just 2 coats.  After the 2 coats I sanded lightly with 400 grit.  I applied 7 coats of Waterlox.


After the 7 coats of Waterlox were applied and allowed to cure for 5 days, I rubbed it out with 0000 steel wool and then I applied a clear paste wax.

Here it is waxed and completed.

Now to plan for the next project.

Here is today's video:


Wednesday, January 13, 2016

19th Century Clerks Desk -Finishing Step 8

I am starting to select the finish for the desk.  I am fairly sure that I want to use Transtint Honey Amber since I have used it before.  So I selected a board to practice on and applied different densities of the dye. This board has 3 different concentrations, the one on the right has medium brown added. That is the one that I like so I can get started.


Everything is sanded to 180, now I will pre-raise the grain by using warm water and wet down the entire piece. After it dries, I sanded lightly with 220 to remove the fuzzies.  Now the piece was ready for the dye stain.

Here it is after applying the dye stain and I am sanding again with 220 grit to remove the fuzzies again.


Now I need to fasten the desk to the frame and attach the molding.  I put 4 screws in from the bottom and attached the molding with glue and nails.  I filled the nail holes with colored wax prior to applying the finish.

Here it is after the waist molding had been applied.


Now to apply the Waterlox tung oil.  This is a slow process of applying only one coat per day and building up 7 or 8 coats.
With the heat on in the shop the blower gets a lot of dust moving around in the shop and the finish gets quite a bit of dust on it.

Here it is after the first coat. As you can see the finish pops the grain and the tiger stripes are showing.


All finished now, 7 coats of Waterlox and then I wet sanded it with 400 grit and mineral spirits.  It is smooth.  Needs a coat of wax yet. But all done.


I am making a stool to match the desk.  Don't have too much video but will post some pictures here in a new post.

Next project wife says is to fix the kitchen chairs.

Here is today's video:

Thursday, December 31, 2015

19th Century Clerks Desk - Drawers & Top - Step 7

With all of the holidays, I have not had much time in the workshop but I have made a little progress on the desk.

I milled some 5/8 inch figured maple for the drawer fronts and 1/4 pine for the sides, backs and bottoms.


Chopping out  the small dovetails on the drawer sides. Tails first is the way that I do it.


One side done.


Fitting them to the half blind pins in the drawer front.  I made through dovetails in the back.


Here is one of the drawers assembled. I put a 1/8 inch groove in the bottom edge.  I beveled the bottoms with a router bit so they would fit in the groove. Then slid the bottom in from the back.


I left the bottoms proud in the back so I could trim them so they would fit flush in the front.


Trimming the back of the bottom with a block plane and then test the fit.

All fitted and with little pulls.


The scalloped shape that I added to the top of the pigeon hole was from 3/8 in stock and cut out on the band saw, then glued in.


Not sure what to call it but I added a return piece to the top.  I guess that it to prevent pens and pencils from rolling off the desk.  I milled 5/8 inch stock and dovetailed the corners. I also scalloped the ends so that they would not interfere with the lid when it is open.


I thought it might be a bit fragile and could get knocked off, so I reinforced the mounting by using dowel pegs.  Then I glued it on using yellow glue instead of old brown glue.


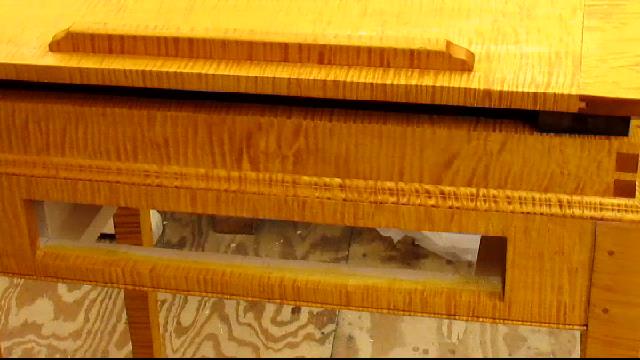
Then I made a book stop to attach to the lid, this prevents books or papers from sliding off the slopped lid.

I pegged and glued it to the top.

I turned a wooden pull on the lathe with the face grain on the end. This was done to match the grain on the front on the drawer.  I mounted it with a single screw from the inside of the drawer.  But countersinking the screw was a problem since my electric drill would not fit.  So I used my eggbeater hand drill.


The construction is complete. Now to start on the finishing.  I will mount the desk on the frame and apply the waist molding after the desk has been stained.


Here is today's video: