
Everything is sanded to 180, now I will pre-raise the grain by using warm water and wet down the entire piece. After it dries, I sanded lightly with 220 to remove the fuzzies. Now the piece was ready for the dye stain.
Here it is after applying the dye stain and I am sanding again with 220 grit to remove the fuzzies again.

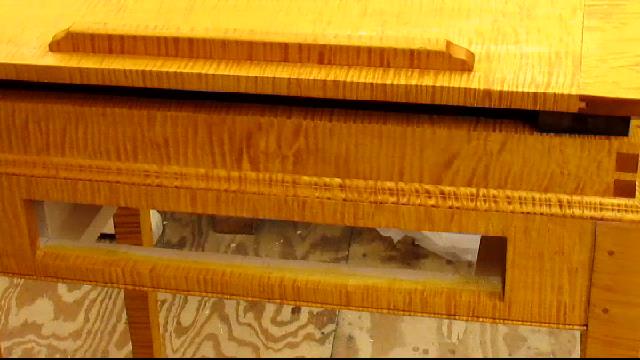
Now I need to fasten the desk to the frame and attach the molding. I put 4 screws in from the bottom and attached the molding with glue and nails. I filled the nail holes with colored wax prior to applying the finish.
Here it is after the waist molding had been applied.

Now to apply the Waterlox tung oil. This is a slow process of applying only one coat per day and building up 7 or 8 coats.
With the heat on in the shop the blower gets a lot of dust moving around in the shop and the finish gets quite a bit of dust on it.
Here it is after the first coat. As you can see the finish pops the grain and the tiger stripes are showing.

All finished now, 7 coats of Waterlox and then I wet sanded it with 400 grit and mineral spirits. It is smooth. Needs a coat of wax yet. But all done.


I am making a stool to match the desk. Don't have too much video but will post some pictures here in a new post.
Next project wife says is to fix the kitchen chairs.
No comments:
Post a Comment