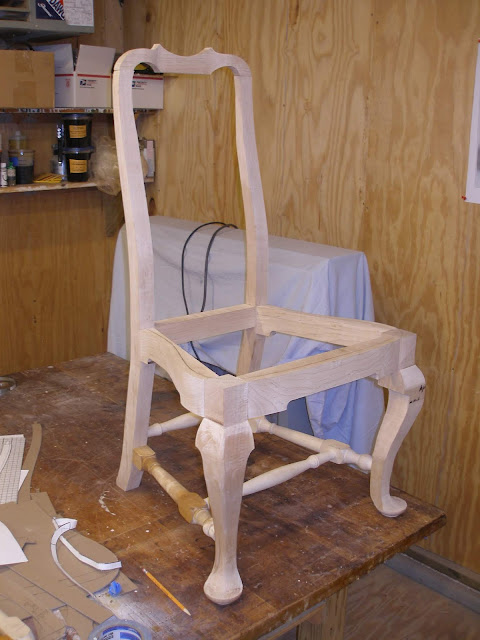
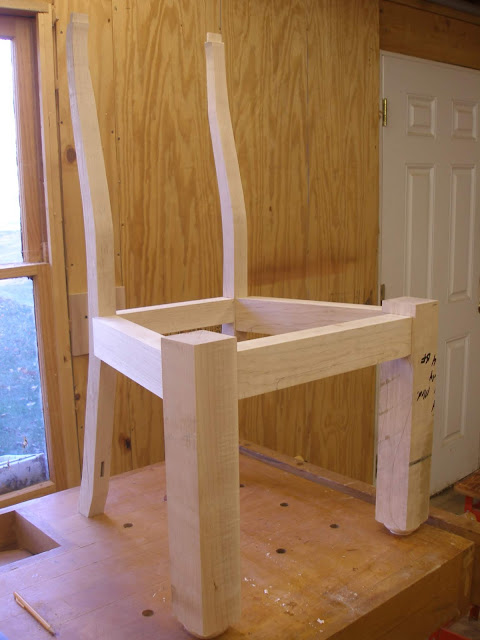
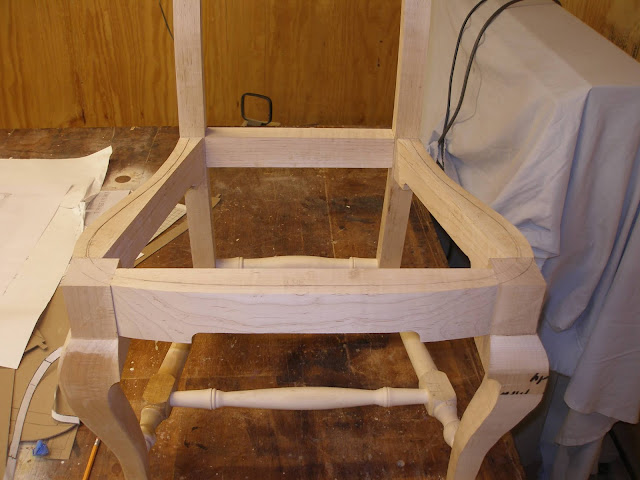
Finally ready to glue up the chair. I used Old Brown Glue hide glue, because it is repairable.
You can see the knee blocks laying on the bench to the left of the front leg. These were cut out on a bandsaw and will be glued in and shaped ounce the chair has dried. They are used to transition the legs to the seat rails.
Knee blocks have been glued on and shaped to the knees and rails.. Final fitting and sanding is yet to be completed.
We now need a seat for the chair. The style is a drop in seat. I made a frame out of soft maple 3/4 thick. I used bridle joints on the corners and a cardboard template which matched the shape of the seat. I left about 3/32 inches for room around the frame for the cloth.
I sanded the chair to 180 grit then wet the chair with water to raise the grain. Then sanded it off with 220 grit prior to applying the dye. I used a Transtint water based dye "Honey Amber" to darken the maple. Then is sprayed 5 coats of 2 lb cut blond shellac.
I upholstered the seat my self. There is a good video on the WoodWright's Shop Season 26 Episode 11 on "Upholstering your seat".
The webbing goes on first as you can see, I purchased almost all of this from a local upholstery store.
Then the coarse bottom linen. Fold over the edges for strength.
Then animal hair for filling which would have been used in the 18th century. I ordered this on-line. It is not horse hair which was expensive. The need to be about 12 inches high.
It is mostly air, so the top linen pushes it down to a comfortable thickness.
Now cotton padding.
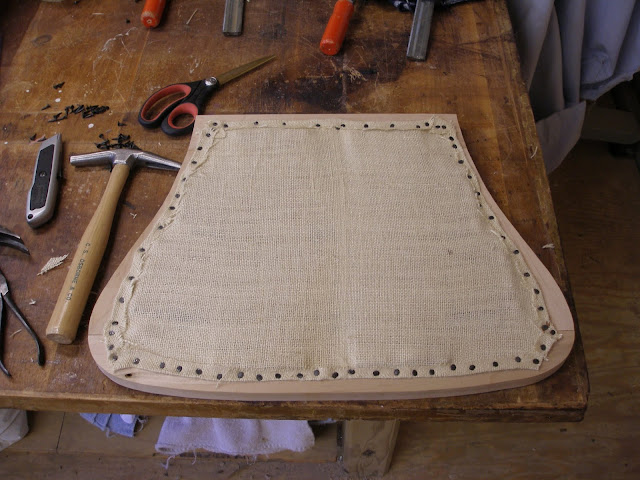
Then the finished fabric is tacked on.
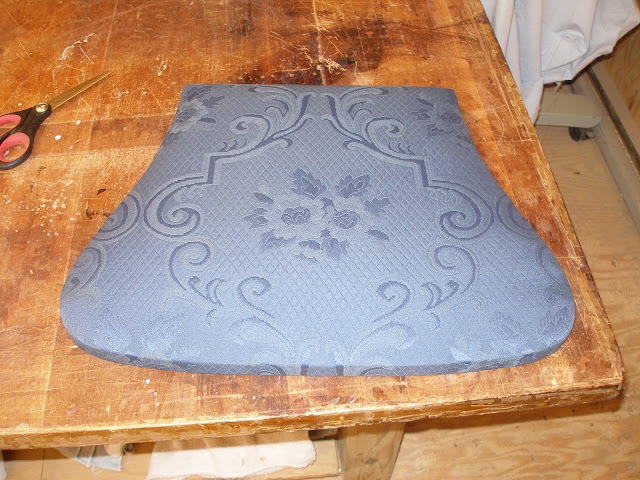
All stretched and ready to go. Hope it fits.
Lastly, I added underlining which would not have been used in the 18th century but I thought it would look better.
And here we are all done. The seat fit nice and snug in the opening.


