Search This Blog

Sunday, August 27, 2017

Mahogany Curved Blockfront Chest Sides & Bottom Step 2

I had milled up the pine and glued up the bottom.  This is slightly over sized right now.  The front is mahogany.  I have traced the curved pattern for the blockfront on to the mahogany.  I am going to put a large dovetail in the middle of the bottom to attach the two pieces.  Many 18th century pieces have this in the bottom.  This chest at Yale did not but the one at Winterthur does.


Sawing out the dovetail shape


The dovetail fits nice and tight. It will still be glued later.


Cutting out the curves of the blockfront on the bottom piece to prepare for putting a molded edge on it.


Using a router with a cove bit to hog out the majority of the material.


Still need to carve the cove to get the shape that I want on the front.  This is the first piece of molding on the front edge, there is another that is below this.


Getting ready to cut the dovetails by marking them out on the sides and bottom.  I cut a rabbet on the edge 3/32 deep so that the dovetails on the side will be less than 3/4 inches high.  That way the side molding will cover the dovetails completely.


There is a piece on the front edge of the side that has to be removed so that the dovetails will fit.
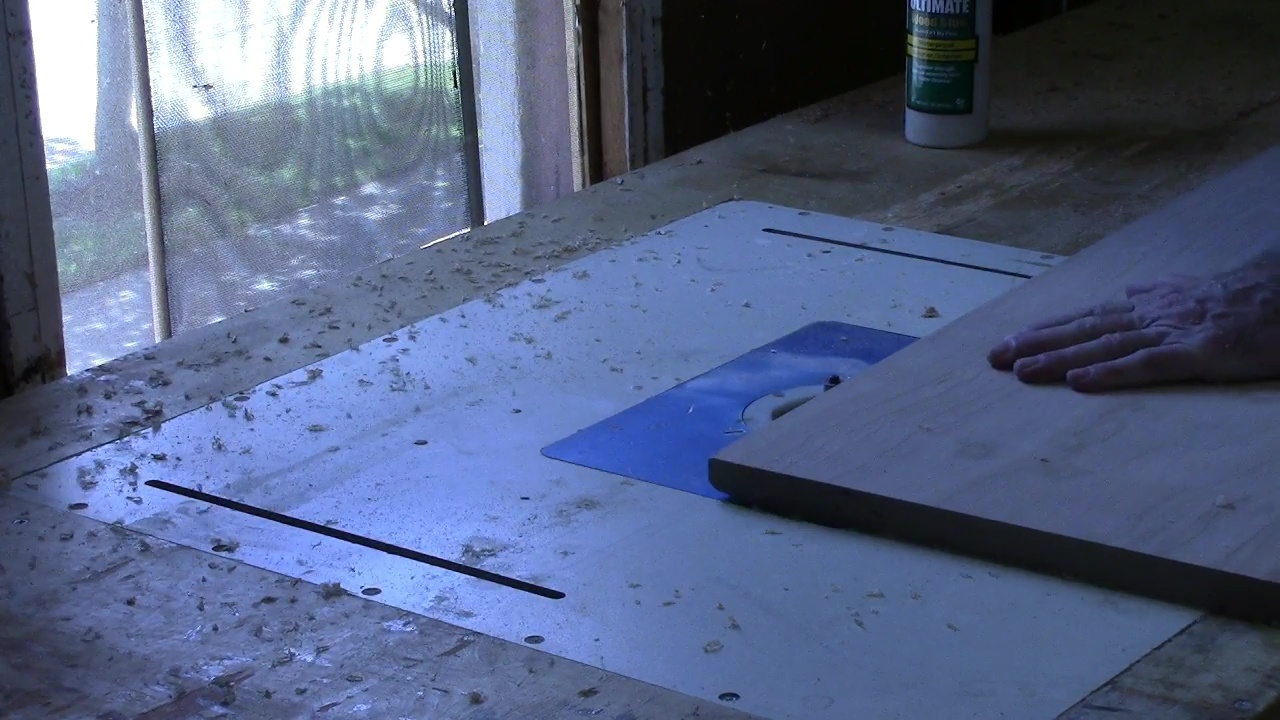
I also sawed 1/2 inch off of the front edge which I will put back on later to hide the drawer divider dovetails.


Sawing the dovetails on the bottom of the case sides.


Chopping out the pins on the bottom.


Dry fitting the dovetails on the sides and the bottom.


They fit well, so now I am going to make the drawer dividers.  I need 3 of them.  And they will be dovetailed into the sides.


Cutting a 1/2 inch rabbet for the back in the case sides.  You can see I have  already cut 1/8 x 3/4 inch dado in the sides for the drawer runners and dividers.


Bandsawing out the curves on the drawer dividers.


Here are the 3 completed drawer dividers. I used a 1/8 inch beading bit to edges on the pieces. I also used a 1/2 inch rabbeting bit to remove 1/8 inch in the center of each piece.
I glued a piece of soft maple to the back of each piece to help keep them flat and add strength.


Now I need to put a dovetail on each end. Using the router and a 14 degree router bit I cut the dovetail on each side. They are 3/8 inch deep.


Using a two router set up and a jig for the routers to follow. I hog out most of the material with a straight bit and then use a 5/8 14-degree  router bit to make the 3/8 in deep dovetail socket.


It ends up looking like this.  It takes some practise to get it exactly in the middle of the dado groove.
These are about 2  inches long.


Now if I measured correctly, everything should fit together.  Surprise it does!


The 1/2 inch that I cut off will be glued on to the front later to cover the dovetails and create a 1/8 inch space for the cockbeading.


That's all for today. Next up is to make a sliding dovetail to attach the top to the sides.

Here is today's video:

Sunday, August 20, 2017

New Project Mahogany Curved Blockfront Chest of Drawers - Step 1

I must be stuck on curved blockfront furniture pieces.  I just finished the lowboy that was like that and now I am making a chest of drawers.

I located this piece in a book "American Case Furniture in the Mabel Brady Garvan and Other Collections at Yale",

I also found one documented a Winterthur.  The picture below is the one from Winterthur.   However both were of the same style and size but different wood.

The piece at Yale was made in the Boston area, maker is unknown.  The ball and claw feet have the turned back toe which is common to the Boston area.  

The one at Yale is made from mahogany with a strip to cover the dovetails on the front from the drawer dividers. The one at Winterthur does not hide the dovetails in the front. 

I have not worked with mahogany for quite awhile, for one reason it is quite expensive. I was able to get some nice looking figured mahogany from Irion Lumber, so I think it was worth the price.


The drawer fronts are so curved that you need 2 1/2 inch stock to cut them out much like a bombe chest.

The Yale Furniture Study was nice enough to pull the piece out for me to measure and photograph.
I spent a day there and used a photo to record  the various measurements.


I was able to get the profile of the drawer front.


And examine other construction details.


I made full size drawings, Doug Moulder helped with the molding design and he made a drafting of the full size drawer profile.


From the drawings, I made full size templates of the drawer fronts and drawer dividers as well as the moldings.


I have purchased some 13 inch wide 8/4 mahogany that I plan to resaw to 4/4.  This way I can book match the grain for the pieces that I need.  First I get one side flat with hand planes.  Then I joint one edge on the jointer.  Then I can flatten the other face with my planer.
Now I am ready to resaw.


I have an old 20 inch Delta Bandsaw with 15 inch clearance under the guides. Could probably go 16 inches if I took the top guide off.  I am using a 3/4 inch 4 tpi Sterling blade.  Works well for me.


2 nice pieces.


Resawed all the pieces that I need for the case.


There is a little cupping in a few of the pieces which will mean I have to re-flatten the boards.
Still there is enough thickness to the boards after flattening again.


Below I have glued up the 2 sides and the bottom. They still need to be trimmed to length and width.


This will be the top. I love this grain pattern.


A little more milling to do and then I be able to start the construction of the case.

Here is today's video:

Friday, July 28, 2017

Curved Blockfront Lowboy - Finishing Step 11

This is an abbreviated post about what I did to finish the lowboy.  Most of the time was spent mixing dye to find a color that I liked.  This takes quite a bit of time.  I sand samples to 180 grit, then spray with 1/2 pound cut of shellac as a sealer.  Then spray the dye color, rub it out. Then spray with shellac.

Then I don't like the color and start all over. Eventually I find something that I like, and my wife does the checking.

Once I have the dye mix, I am ready to go on the piece.

I sand using an orbital sander on the flat surfaces and by hand on the curved surfaces.
I usually sand to 180 grit, going further to 220 or 320 seems to fine to take the dye properly.


 I have sanded the piece to 180 grit and use a tack rag to remove the dust. I masked all of the parts that I don't want to get finish on.

The first step is to put 1/2 lb cut of shellac on the cherry as a sealer to help keep the dye even.  This also helps keep the endgrain from getting too dark.

Once the 1/2 lb cut shellac is dry, I sand lightly with 320/400 grit sand paper to remove the fuzzy feeling left behind.  Then I use a tack rag to remove the dust.

Now I am ready to spray an alcohol based dye.  I am using a mix of Behlan and Lockwood dyes to get the desired color.

I have an inexpensive HVLP sprayer from Earlex HV5500. With 1.0 mm tip.  The dye with alcohol is a very thin product.

I use a light application so that I can apply it to get the color I want and get it even. I am wearing a mask and hearing protection.


After the dye has dried I rub it out with a 3m Scotchbright gray color pad.  This makes it smooth and even.


Then I applied one coat of Boiled Linseed Oil.  Left it on for 5 to 10 minutes and them wiped it off.
This helped emphasize the grain.  I waited a day before the next step.


Spraying the 2lb cut of Blonde Shellac with a 1.5 mm needle tip. This mixture is thicker than the dye.
I use a 400 grit sandpaper between coats to keep it smooth.  I sand very lightly.  I usually apply 3 or 4 coats.


After the last coat of shellac, I use the gray Scotchbright pad to knockoff the shine.  And then apply a paste wax for the final shine.

Then I remount the hardware.

Here it is all finished.


The shop lights are somewhat deceiving to the camera, here is a picture in natural sun light. It will darken with age.


Here is today's video:

Tuesday, July 11, 2017

Curved Blockfront Lowboy Routing the Top & Carving Step 10

The next step in the process was to cut out the curves on the top to match the curves of the drawer fronts.  I used an extra drawer blade as a template to trace the curves.


I have an ogee bit which can put the edge on the top that I need. It takes 3 passes with the router as I raise the bit a little each time.  After that I put a 1/4 inch round over on the bottom to meet the ogee from the top.


Now I need to carve the four corners of the top with what I call the baby butt corner, some people call them notched corners.   I have carved this shape before but I thought I would carve a practice one to re-familiarize myself with the shape.

Below is the practice one sitting on the top.  I have marked out the design on the bottom of the lowboy top.  This is a 3/8 inch radius on either side set 1 inch back.


I need to turn it over and put the 1/4 inch radius circles on the top.


I cut out the 3/8 radius circles on the bottom with a saber or jig saw.  I need to set in the top circles with my carving chisels, I use a number 5.  And then start to carve the shape.


I start by making a groove down the center and extending the cove at the top of the ogee into the valley created by the groove.


I am using a 1/2 inch #3 to round over the lower portion of the ogee.


Here I am continuing to round over the lower portion of the ogee.


I have turned over the top and am extending the 1/4 round over which is on the bottom into the 3/8 inch radius curve.


This doesn't take too long but you have to watch the direction of the grain so that is does not chip off.


I have the shape that I want so all there is to do is clean up the rough chisel marks.  I am using a fine almond shaped file here to smooth over the corners.  I will sand to 180 later when I do the rest of the lowboy.


One done and 3 to go.

There is a detail video on the carving here:Curved Blockfront Dressing Table Carving Baby Butt Corner Step 25


Well, I have completed all four and positioned the top on the case.  I need to mark where the screws will go and drill the holes.  Then take it off to prepare for finishing.


The construction is complete.  Unfortunately there is nothing left to do but sand and finishing.

These are the tasks for me that are not too much fun.  But I have to do them next.


Here is today's video: